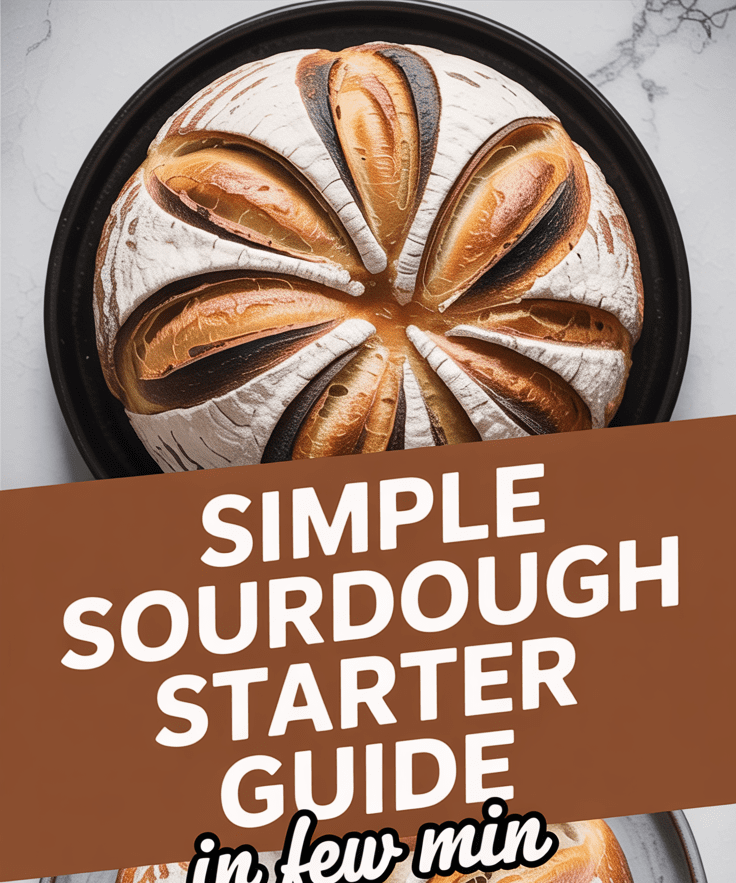
Swirled Garlic Herb And Cheese Bread

It is a fact that homemade bread always brings a certain kind of warmth. To me, this garlic herb and cheese bread in loaf form is nothing but joy itself. The enthralling aroma—warm butter, roasted garlic, and cheese melting—can easily turn the entire house into a lively place. Each time I bake it, I would be lying if I said I did not promise myself that I will “save some for tomorrow,” and then, maybe, half the loaf is already gone before it cools down.
A Quick Introduction
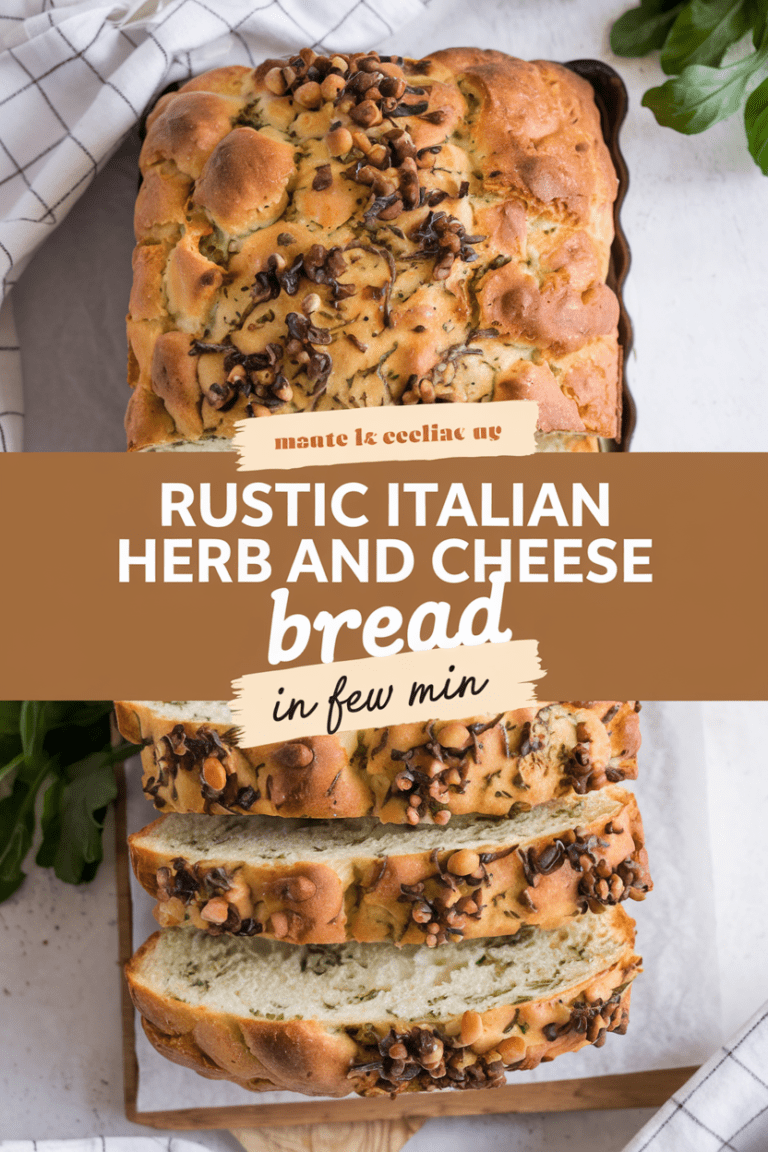
This bread is a golden and soft loaf with buttery layers of herbs, garlic, and yummy cheese. It has a heavenly aroma that makes just about every meal taste better—it is great with pasta, soup, or even if just warmed up with a little butter on it. Just think of it as the combination of garlic bread and cheesy rolls neatly packed in one beautiful homemade loaf.
Why This Recipe Is Special
It is not just another cheesy bread. Swirl design gives every slice a little pocket of flavor, some more garlicky, some more cheesy, still all delicious. The dough is soft but sturdy, the cheese melts nicely into the layers without oozing out, and those herbs—what a wonderful aroma!—make it even more inviting and absolutely savory, the kind of aroma that would make everyone want to be around the oven.
Why You’ll Love This Recipe
- It may look like a challenge but it’s really easier than it looks: The dough is very forgiving and the swirl is surprisingly simple to shape.
- Incredible flavor payoff: Every single bite has garlic, herbs, and melted cheese.
- Perfect texture: The crust is golden and slightly crisp while the inside is soft and fluffy.
- Versatile: You can serve it with dinner, slice it for sandwiches, or toast it up and enjoy for breakfast.
- Freezer-friendly: You can make it in bulk then freeze it, later on, you just have to reheat it for that just-baked freshness.
What You’ll Need
Tools
- Mixing bowls (large and medium): For mixing and proofing the dough.
- Wooden spoon or dough hook: To bring the dough together before kneading.
- Rolling pin: Helps flatten the dough evenly for the swirl.
- 9×5-inch loaf pan (23×13 cm): The perfect size to hold your loaf shape.
- Pastry brush: For brushing butter or egg wash.
- Clean kitchen towel: To cover the dough while it rises and keep it warm.
- Instant-read thermometer (optional): To check doneness—bread should be around 190°F (88°C) inside.
Ingredients
For the Dough:
- 3 cups (375 g) all-purpose flour
- 2¼ tsp (7 g) instant yeast
- 1 tsp sugar
- 1 tsp salt
- ¾ cup (180 ml) warm milk (about 110°F / 43°C)
- 2 tbsp (28 g) unsalted butter, melted
- 1 large egg
For the Filling:
- 3 tbsp (42 g) unsalted butter, softened
- 3 garlic cloves, minced
- 1½ cups (170 g) shredded mozzarella (or a mix of mozzarella and cheddar)
- 2 tbsp chopped fresh parsley (or 1 tbsp dried parsley)
- 1 tsp dried oregano
- ½ tsp salt
- ¼ tsp black pepper
For Brushing:
- 1 tbsp melted butter or olive oil
- Optional: pinch of garlic powder and parsley for a glossy, flavorful finish
Step-by-Step Instructions
1. Activate the yeast (if using active dry yeast)
Use instant yeast No step to be done, however, if active dry yeast is used; then disintegrate it along with milk and sugar that is warm. Give it a 5–10 minutes wait until it turns foamy—that’s your indicator of a little life, it’s working!
2. Make the dough
Mix flour, salt, and instant yeast in a bowl that is of large size. Warm milk, melted butter, and egg are to be added next. Wooden spoon stir until dough starts gathering together.
Get ready to get your hands dirty, and knead. You can opt for doing it by hand for around 8–10 minutes or use a mixer with a dough hook for 5–6 minutes. Smooth, elastic, and just a tiny bit tacky—is how the dough should be but not sticky. In case it becomes too wet, add a tablespoon of flour at a time to get it to the right consistency.
3. First rise
Transfer the dough to a bowl that is lightly greased, cover it with a clean kitchen towel and let it grow for about 1 to 1½ hours, or until its size is doubled. This is when the phenomenal change occurs—more than one has to be patient.
4. Prepare the filling
During the time that the dough is getting bigger, mix together in a small bowl softened butter, minced garlic, herbs, salt, and pepper. Besides that, prepare your cheese—that will be the highlight of the dish soon.
5. Roll and fill
Gently punch the dough to get the air out. Make it into a rectangle about 10×14 inches (25×35 cm) wide. Spread the garlic-herb butter evenly on the surface, then, fill the cheese evenly on top.
6. Roll and shape the swirl
Dough rolling should be done tightly from the long side to form a jelly roll. Close the seam by pinching it. You can choose either to keep it that way or cut horizontally through the center and twist the two halves together for a lovely braid look before placing in the loaf pan. Don’t be concerned about imperfections—every swirl will look fab once baked.
7. Second rise
Wraps the loaf and gives it another 30–40 minutes of rising time till it is puffed and has almost doubled in size. Move the oven stuff to 350°F (175°C) while you wait.
8. Bake
Brush the top with melted butter or a light egg wash for shine. Bake for 25–30 minutes, until the bread is golden brown and sounds hollow when tapped.
9. Cool and serve
Let it cool in the pan for 10 minutes, then move it to a wire rack. Don’t slice it too soon—the cheese needs a moment to set. Once you do cut it, that swirl will make you smile every single time.
Serving Ideas
- Breakfast:
- Slice and toast for breakfast with a fried egg on top.
- Pasta night:
- Pair with creamy tomato soup or pasta night.
- Grilled cheese:
- Turn leftover slices into grilled cheese sandwiches (trust me—it’s next-level).
Variations and Customizations
- Spicy twist: Add red chili flakes or chopped jalapeños to the filling.
- Herb lovers: Try rosemary, thyme, or basil for different flavor profiles.
- Cheese swap: Mix in parmesan, gouda, or provolone for deeper flavor.
- Whole wheat version: Replace half the all-purpose flour with whole wheat flour.
Storage and Make-Ahead
- Room temperature: Store in an airtight container for up to 2 days.
- Refrigerator: Keeps well for up to 5 days—toast it before eating.
- Freezer: Wrap slices in foil and freeze for up to 2 months. Reheat in the oven or toaster.
- Make ahead: You can prepare the dough, shape it, and refrigerate overnight for baking the next day.
Pro Tips (and Secrets I’ve Learned the Hard Way)
- Don’t overload with cheese—it can leak out and burn on the pan.
- Make sure your milk isn’t too hot or it’ll kill the yeast (warm, not hot).
- Let the dough rise in a warm, draft-free area—it needs that cozy environment.
- Always wait 10 minutes before slicing; hot bread can turn gummy inside.
- For an irresistible aroma, brush the loaf with garlic butter rig
Common Mistakes to Avoid
- Too much flour: Makes the bread dense. Add just enough for a soft dough.
- Skipping the second rise: This step gives the bread its airy texture.
- Overbaking: Watch closely in the last few minutes—golden is perfect; brown is too far.
Recipe Summary
Yield: 1 loaf (8–10 slices)
Prep time: 25 minutes
Rise time: 1 hour 30 minutes
Cook time: 30 minutes
Total time: About 2½ hours
Nutrition (per slice):
Calories: ~220 | Fat: 10g | Carbs: 25g | Protein: 8g | Sodium: 290mg
A Warm Closing
If you’ve never baked bread before, let this be the one to start with. It’s forgiving, comforting, and wildly satisfying. Once you see that swirl and smell that buttery garlic filling, you’ll realize homemade bread isn’t just about feeding yourself—it’s about slowing down and creating something that feels like home.
Swirled Garlic Herb And Cheese Bread
4
servings25
minutes30
minutes220
kcalThis bread is a golden and soft loaf with buttery layers of herbs, garlic, and yummy cheese. It has a heavenly aroma that makes just about every meal taste better—it is great with pasta, soup, or even if just warmed up with a little butter on it. Just think of it as the combination of garlic bread and cheesy rolls neatly packed in one beautiful homemade loaf.
Ingredients
For the Dough:
3 cups (375 g) all-purpose flour
2¼ tsp (7 g) instant yeast
1 tsp sugar
1 tsp salt
¾ cup (180 ml) warm milk (about 110°F / 43°C)
2 tbsp (28 g) unsalted butter, melted
1 large egg
For the Filling:
3 tbsp (42 g) unsalted butter, softened
3 garlic cloves, minced
1½ cups (170 g) shredded mozzarella (or a mix of mozzarella and cheddar)
2 tbsp chopped fresh parsley (or 1 tbsp dried parsley)
1 tsp dried oregano
½ tsp salt
¼ tsp black pepper
For Brushing:
1 tbsp melted butter or olive oil
Optional: pinch of garlic powder and parsley for a glossy, flavorful finish
Directions
- Activate the yeast (if using active dry yeast)
- Use instant yeast No step to be done, however, if active dry yeast is used; then disintegrate it along with milk and sugar that is warm. Give it a 5–10 minutes wait until it turns foamy—that's your indicator of a little life, it's working!
- Make the dough
- Mix flour, salt, and instant yeast in a bowl that is of large size. Warm milk, melted butter, and egg are to be added next. Wooden spoon stir until dough starts gathering together.
- Get ready to get your hands dirty, and knead. You can opt for doing it by hand for around 8–10 minutes or use a mixer with a dough hook for 5–6 minutes. Smooth, elastic, and just a tiny bit tacky—is how the dough should be but not sticky. In case it becomes too wet, add a tablespoon of flour at a time to get it to the right consistency.
- First rise
- Transfer the dough to a bowl that is lightly greased, cover it with a clean kitchen towel and let it grow for about 1 to 1½ hours, or until its size is doubled. This is when the phenomenal change occurs—more than one has to be patient.
- Prepare the filling
- During the time that the dough is getting bigger, mix together in a small bowl softened butter, minced garlic, herbs, salt, and pepper. Besides that, prepare your cheese—that will be the highlight of the dish soon.
- Roll and fill
- Gently punch the dough to get the air out. Make it into a rectangle about 10x14 inches (25x35 cm) wide. Spread the garlic-herb butter evenly on the surface, then, fill the cheese evenly on top.
- Roll and shape the swirl
- Dough rolling should be done tightly from the long side to form a jelly roll. Close the seam by pinching it. You can choose either to keep it that way or cut horizontally through the center and twist the two halves together for a lovely braid look before placing in the loaf pan. Don't be concerned about imperfections—every swirl will look fab once baked.
- Second rise
- Wraps the loaf and gives it another 30–40 minutes of rising time till it is puffed and has almost doubled in size. Move the oven stuff to 350°F (175°C) while you wait.
- Bake
- Brush the top with melted butter or a light egg wash for shine. Bake for 25–30 minutes, until the bread is golden brown and sounds hollow when tapped.
- Cool and serve
- Let it cool in the pan for 10 minutes, then move it to a wire rack. Don’t slice it too soon—the cheese needs a moment to set. Once you do cut it, that swirl will make you smile every single time.
Notes
- Don’t overload with cheese—it can leak out and burn on the pan.
Make sure your milk isn’t too hot or it’ll kill the yeast (warm, not hot).
Let the dough rise in a warm, draft-free area—it needs that cozy environment.
Always wait 10 minutes before slicing; hot bread can turn gummy inside.
For an irresistible aroma, brush the loaf with garlic butter rig
Common Mistakes to Avoid
Too much flour: Makes the bread dense. Add just enough for a soft dough.
Skipping the second rise: This step gives the bread its airy texture.
Overbaking: Watch closely in the last few minutes—golden is perfect; brown is too far.


