I admit it right away—initially, my relationship with sourdough was quite difficult. I put an end to my first starter (actually, I did it twice). I was not sure what it wanted, when to give it food, or even why it sometimes had a cheese-like smell. Nevertheless, once I got it, I thought I had just one of the oldest kitchen secrets unlocked. Making your own sourdough starter has never been only about bread—it is about bringing life, one bubbly jar at a time. And once you have got that magic, you will never want to buy yeast again.
What Is a Sourdough Starter?
Sourdough starter is nothing but an easy combination of flour and water that traps wild yeast and bacteria from the surrounding environment and thus turns them into a natural leavening agent. It is the key ingredient of each and every sourdough loaf—the living culture that rises, gives the bread a sour taste and provides an absolutely irresistible smell.
Why This Recipe Is Special
Most starter guides sound like lab manuals, but this one’s real and forgiving. I’ll walk you through what to expect each day, what’s normal (bubbles, smells, hiccups), and how to fix things when they go off track. It’s beginner-friendly but detailed enough that you’ll actually understand why things happen. Think of this as your personal kitchen diary, not a textbook.
Why You’ll Love This Recipe
- It’s simple: Just flour, water, and a little time.
- It’s alive: Watching your starter come to life is genuinely exciting.
- It’s flavor-rich: Homemade sourdough has that perfect tang store-bought bread can’t match.
- It’s cost-effective: You’ll save money and bake with pride.
- It’s rewarding: Once it’s active, you can keep it forever with minimal care.
Tools You’ll Need
Each tool has a purpose, and once you understand them, the process becomes smoother.
- Glass jar (about 1 quart / 1 liter): To house your starter. Transparent jars help you see bubble activity and rise.
- Kitchen scale: Essential for accurate feeding ratios (cups work, but grams are better for consistency).
- Spoon or spatula: For stirring and scraping down the sides.
- Clean towel or loose lid: Keeps dust out while allowing airflow.
- Rubber band or marker: To mark your starter’s level so you can track its growth.
Ingredients
Simple ingredients, but quality matters.
- Whole wheat flour: 60 g (½ cup) – jumpstarts fermentation with more nutrients.
- All-purpose flour: 60 g (½ cup) – creates a lighter, more balanced starter.
- Water: 120 g (½ cup), filtered or dechlorinated – chlorine can kill the wild yeast.
That’s it—just flour and water. But together, they’ll become something incredible.
Step-by-Step Instructions
Day 1: The Beginning
- In your glass jar, thoroughly mix 60 g of whole wheat flour and 60 g of water to get a smooth batter. Now scrape down the sides and cover the jar loosely.
You might see nothing yet—and that’s perfectly normal. It’s like planting a seed; patience is key.
Day 2: Small Signs
- Look for some small bubbles or a subtle sour smell. Throw away half of the starter (about 60 g). Then add 60 g of all-purpose flour and 60 g of water. Mix it up again.
If it smells funky, don’t worry. That’s your wild yeast introducing itself.
Day 3: Activity Picking Up
- Bubbles might be more than one and smell slightly yeasty. Do the discard and feeding again: 60 g flour + 60 g water. Use a rubber band to mark the level of the jar.
If it doubles in size within 12 hours, you’re getting close. If not, keep going—every kitchen is different.
Day 4–5: The Growth Phase
- Feed the starter once or twice daily depending on how active it is. When it takes consistently 4–6 hours to double, it’s strong and ready.
At this point, your starter should smell pleasantly tangy, like yogurt or apples, and look bubbly and airy.
Day 6: Ready to Bake
You have your sourdough starter alive! You can take the “float test”—put a small spoonful of it in water, and if it floats, it’s ready for use. If it sinks, don’t panic. Just give it an extra feeding cycle—it’s still building up its strength.
Serving Ideas
Once your starter is active, you can bake endless things:
- Traditional sourdough bread has a golden, crackly crust.
- Pancakes or waffles enriched with tangy depth.
- Sourdough pizza dough that rises beautifully.
- Even cookies and crackers that have a slight nutty flavor are rich.
Variations & Customizations
- Flour swaps: Substitute rye or spelt flour for a deeper flavor.
- Hydration tweak: Use less water (thicker starter) for stronger flavor, and use more water (looser starter) for milder results.
- Temperature control: Cooler kitchens slow fermentation; warmer ones speed it up.
Storage & Maintenance
- Room temperature: Feed daily if you bake often.
- Refrigerator: Store with a loose lid and feed once a week.
Before baking, bring your starter to room temperature and feed it 6–12 hours before use.
Pro Tips & Mistakes to Avoid
Here’s the stuff I wish someone had told me early on:
Pro Tips
- Use unbleached flour—bleach can inhibit yeast growth.
- Keep it warm but not hot—68–75°F (20–24°C) is ideal.
- Stir your starter daily, even if you’re not feeding it yet—it helps spread microbes evenly.
Mistakes to Avoid
- Don’t panic over weird smells early on—they usually settle.
- Don’t skip feedings for days; neglect kills more starters than anything else.
- Don’t seal the jar tight—your starter needs to breathe.
Recipe Details
- Yield: 1 sourdough starter (about 1 cup / 240 g active starter)
- Prep Time: 10 minutes
- Fermentation Time: 5–7 days
- Total Time: About 1 week
- Calories (per 1 tbsp): ~30
Final Thoughts
Once your starter is thriving, you’ll realize how magical it feels to bake with something you grew. It’s a little wild, a little unpredictable—but that’s the beauty of it. Every loaf you bake from your own starter carries your kitchen’s unique signature.
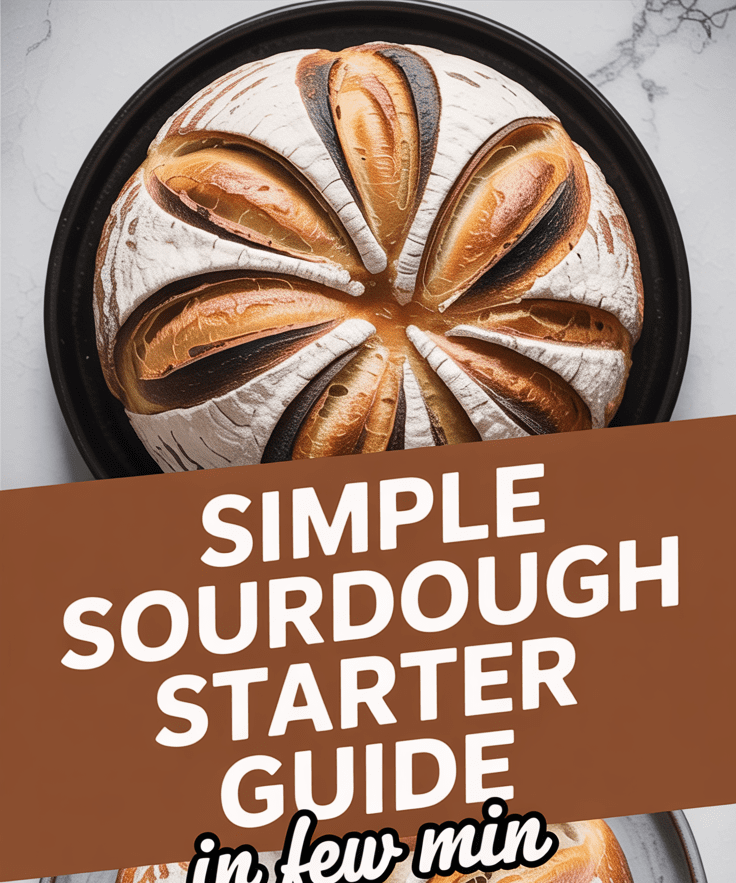
Simple Sourdough Starter Guide
4
servings30
minutes40
minutes300
kcalSourdough starter is nothing but an easy combination of flour and water that traps wild yeast and bacteria from the surrounding environment and thus turns them into a natural leavening agent. It is the key ingredient of each and every sourdough loaf—the living culture that rises, gives the bread a sour taste and provides an absolutely irresistible smell.
Ingredients
Whole wheat flour: 60 g (½ cup) – jumpstarts fermentation with more nutrients.
All-purpose flour: 60 g (½ cup) – creates a lighter, more balanced starter.
Water: 120 g (½ cup), filtered or dechlorinated – chlorine can kill the wild yeast.
That’s it—just flour and water. But together, they’ll become something incredible.
Directions
- Day 1: The Beginning
- In your glass jar, thoroughly mix 60 g of whole wheat flour and 60 g of water to get a smooth batter. Now scrape down the sides and cover the jar loosely.
- You might see nothing yet—and that’s perfectly normal. It’s like planting a seed; patience is key.
- Day 2: Small Signs
- Look for some small bubbles or a subtle sour smell. Throw away half of the starter (about 60 g). Then add 60 g of all-purpose flour and 60 g of water. Mix it up again.
- If it smells funky, don’t worry. That’s your wild yeast introducing itself.
- Day 3: Activity Picking Up
- Bubbles might be more than one and smell slightly yeasty. Do the discard and feeding again: 60 g flour + 60 g water. Use a rubber band to mark the level of the jar.
- If it doubles in size within 12 hours, you’re getting close. If not, keep going—every kitchen is different.
- Day 4–5: The Growth Phase
- Feed the starter once or twice daily depending on how active it is. When it takes consistently 4–6 hours to double, it’s strong and ready.
- At this point, your starter should smell pleasantly tangy, like yogurt or apples, and look bubbly and airy.
- Day 6: Ready to Bake
- You have your sourdough starter alive! You can take the “float test”—put a small spoonful of it in water, and if it floats, it’s ready for use. If it sinks, don’t panic. Just give it an extra feeding cycle—it’s still building up its strength.
Notes
- Pro Tips
Use unbleached flour—bleach can inhibit yeast growth.
Keep it warm but not hot—68–75°F (20–24°C) is ideal.
Stir your starter daily, even if you’re not feeding it yet—it helps spread microbes evenly.
Mistakes to Avoid
Don’t panic over weird smells early on—they usually settle.
Don’t skip feedings for days; neglect kills more starters than anything else.
Don’t seal the jar tight—your starter needs to breathe.