Introduction
Wow, do I have to say? Queso Chicken Enchiladas Bake happens to be one of my all-time comfort foods. I can remember the day I did this for the first time, pulling it from the oven, golden and bubbly. I thought to myself that this is just the kind of dinner that turns an ordinary day into something really special. Just cheesy, just creamy, and just spicy enough.
If ever you wanted to eat a warm hug, this is it. Just about anyone can cook it. Trust me, once you taste that first forkful, you will understand why I love to keep it in my rotation.
What This Recipe Is All About
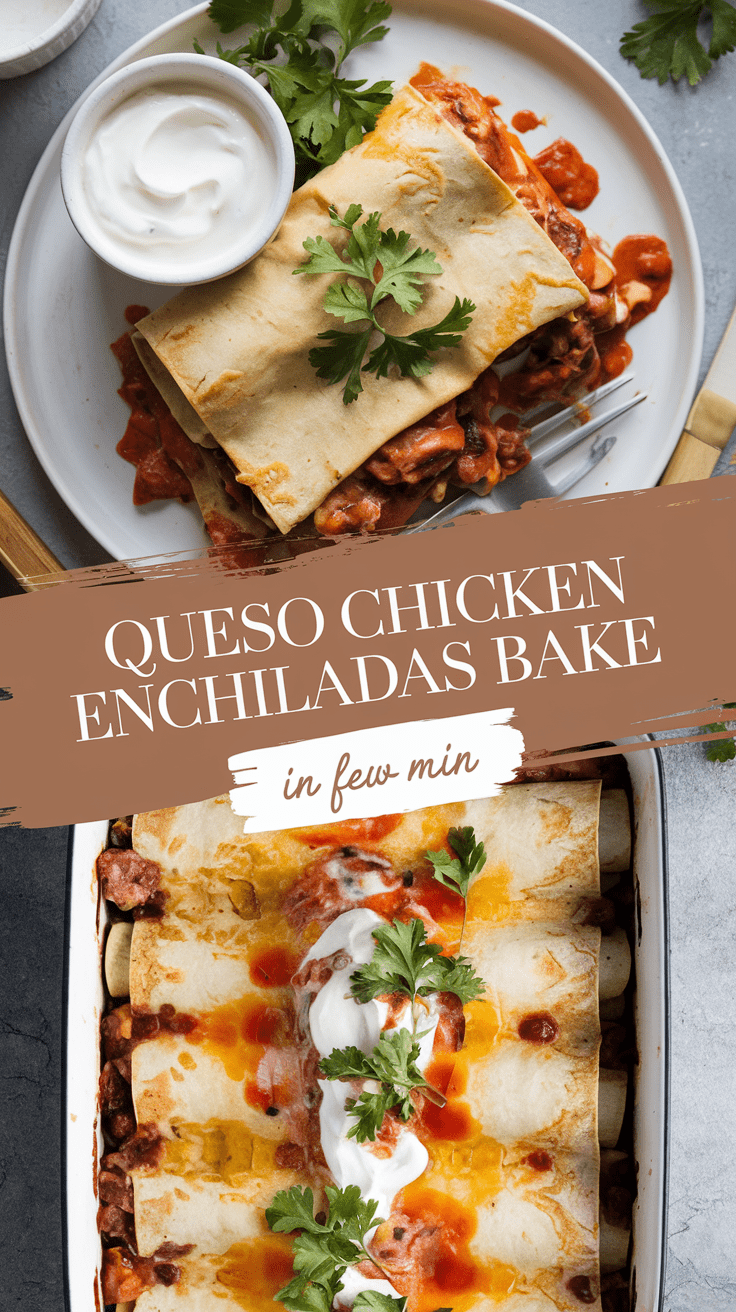
This is not the classic enchilada recipe. Instead of rolling each tortilla one by one and fretting about getting it looking just right, we layer the tortillas in casserole style, like a Mexican lasagna. The true star of this dish is the queso sauce, which envelops the chicken and tortillas in the most creamy, dreamy, cheesy blanket you can imagine. It’s filling, family-friendly, and easy enough for a weeknight dinner, but fancy enough to impress your guests if served on special occasions.
Why This Recipe Is Special
What makes this bake shine is the balance. You’ve got the smoky, savoury chicken, the tangy salsa, the soft tortillas, and that gooey queso that binds them all together! It’s familiar yet exciting, indulgent but not complicated.
Why You’ll Love This Recipe
Here’s why I think you’re going to fall in love with it:
- Every bite is an explosion of flavours, with layers of seasoned chicken, tortillas, salsa, and queso. Flavor-packed.
- No rolling of tortillas required-simple layering method.
- Very picky eaters will find it hard to resist this creamy ,cheesy goodness.
- This can be made one day in advance and baked at serving time.
- Feel free to heat this up or keep it mild; substitute proteins or veggies; the choice is yours.
Tools You’ll Need
I like keeping things straightforward. You won’t need any fancy gadgets, just a few kitchen basics:
- No less than an all-purpose 9×13-inch (23×33 cm) baking dish was in consideration for this enterprise. Big enough for those layers.
- Mixing bowls: For combining chicken with its salsa and seasonings.
- Measuring cups and spoons: to keep everything flavour-balanced.
- Whisk: Great for making queso smooth and silky.
- Spatula or big spoon: For layering chicken and queso in the baking dish.
- Aluminium foil: To cover the pan to keep it moist during baking.
Ingredients
Here’s what you’ll need (I’ll give you both US and metric, so you can use whatever works for you):
- 3 cups (about 400 g) cooked chicken, shredded (rotisserie chicken works perfectly)
- 2 cups (475 ml) queso dip (store-bought or homemade)
- 1 cup (240 ml) salsa (choose your favourite, mild or spicy)
- 8 medium flour tortillas (about 20 cm / 8 inches each)
- 2 cups (225 g) shredded cheddar cheese (or a blend of Mexican cheeses)
- 1 small onion, diced (about 100 g)
- 1 teaspoon chilli powder (or adjust to taste)
- 1 teaspoon cumin
- ½ teaspoon garlic powder
- Salt and pepper, to taste
- Fresh cilantro, chopped (for garnish)
Step-by-Step Instructions
- Preheat oven to 375°F (190°C). Lightly coat your baking dish with cooking spray or gently oil it to avoid sticking.
- Mix the chicken filling. Combine the shredded chicken, salsa, onion, chilli powder, cumin, garlic powder, salt, and pepper in a bowl. Stir until everything is evenly coated. (It will smell amazing already-don’t be tempted to sneak too many bites here.)
- Create the base. Put two tortillas at the bottom of your baking dish, slightly overlapping so that they form a base.
- Layer it. Spread a third of the chicken mixture over the tortillas, then drizzle a generous spoonful of queso on top. Sprinkle with shredded cheese.
- Repeat layers. Add more tortillas, then more chicken, queso, and cheese. Keep going until you’ve used everything, finishing with tortillas, queso, and a thick blanket of cheese on top.
- Bake it. Cover with foil and bake for 20 minutes, then uncover and bake for an additional 10 to 15 minutes, until cheese is melted, bubbly, and slightly golden.
- Cool slightly. Wait about 5 minutes before cutting into it; this will make it stay nice and firm for a better slice and will also allow your tongue to keep from getting burned.
Serving Ideas
I love to serve this with:
- A dollop of sour cream
- Fresh guacamole
- Crisp lettuce or a simple side salad
- Mexican rice or roasted corn on the side
Variations & Customization
- Protein swap: Use shredded beef, ground turkey, or black beans for a vegetarian version.
- Extra veggies: Bell peppers, corn, or zucchini make it heartier and colourful.
- Spice level: Add jalapeños or hot sauce if you like a kick, or keep it mellow with mild salsa.
- Tortillas: Swap flour tortillas for corn if you prefer that traditional enchilada flavour.
Storage & Make-Ahead Tips
- Refrigerate: Store leftovers in an airtight container for up to 3 days.
- Freeze: Wrap tightly in foil and freeze for up to 2 months. Reheat covered at 350°F (175°C) until hot.
- Make-ahead: Assemble the dish (without baking), cover, and refrigerate up to 24 hours in advance. Bake when ready.
Pro Tips & Mistakes to Avoid
Let me share a few secrets I’ve learned the hard way:
- Don’t skimp on the queso. The creamy sauce is what makes this dish irresistible.
- Cover with foil first. This keeps it from drying out before the cheese fully melts.
- Don’t rush the resting time. Five minutes may feel like forever, but it keeps the layers neat when serving.
- Season your chicken well. Bland chicken will drag the whole dish down. Taste the mixture before layering.
Recipe Details
- Yield: 6–8 servings
- Prep Time: 15 minutes
- Cook Time: 35 minutes
- Total Time: 50 minutes
Nutrition (per serving, based on eight servings):
- Calories: ~420
- Protein: 27 g
- Fat: 22 g
- Carbs: 28 g
- Fibre: 2 g
- Sodium: 890 mg
Final Thoughts
If comfort, cheese, and the full satisfaction of taste are at the top of your food craving, yes, Queso Chicken Enchiladas Bake will surely do. You would want to share this dish with friends or family, but you may just want to keep those leftovers for yourself.

Queso Chicken Enchiladas Bake
4
servings15
minutes35
minutes420
kcalThis is not the classic enchilada recipe. Instead of rolling each tortilla one by one and fretting about getting it looking just right, we layer the tortillas in casserole style, like a Mexican lasagna. The true star of this dish is the queso sauce, which envelops the chicken and tortillas in the most creamy, dreamy, cheesy blanket you can imagine. It's filling, family-friendly, and easy enough for a weeknight dinner, but fancy enough to impress your guests if served on special occasions.
Ingredients
3 cups (about 400 g) cooked chicken, shredded (rotisserie chicken works perfectly)
2 cups (475 ml) queso dip (store-bought or homemade)
1 cup (240 ml) salsa (choose your favourite, mild or spicy)
8 medium flour tortillas (about 20 cm / 8 inches each)
2 cups (225 g) shredded cheddar cheese (or a blend of Mexican cheeses)
1 small onion, diced (about 100 g)
1 teaspoon chilli powder (or adjust to taste)
1 teaspoon cumin
½ teaspoon garlic powder
Salt and pepper, to taste
Fresh cilantro, chopped (for garnish)
Directions
- Preheat oven to 375°F (190°C). Lightly coat your baking dish with cooking spray or gently oil it to avoid sticking.
- Mix the chicken filling. Combine the shredded chicken, salsa, onion, chilli powder, cumin, garlic powder, salt, and pepper in a bowl. Stir until everything is evenly coated. (It will smell amazing already-don't be tempted to sneak too many bites here.)
- Create the base. Put two tortillas at the bottom of your baking dish, slightly overlapping so that they form a base.
- Layer it. Spread a third of the chicken mixture over the tortillas, then drizzle a generous spoonful of queso on top. Sprinkle with shredded cheese.
- Repeat layers. Add more tortillas, then more chicken, queso, and cheese. Keep going until you've used everything, finishing with tortillas, queso, and a thick blanket of cheese on top.
- Bake it. Cover with foil and bake for 20 minutes, then uncover and bake for an additional 10 to 15 minutes, until cheese is melted, bubbly, and slightly golden.
- Cool slightly. Wait about 5 minutes before cutting into it; this will make it stay nice and firm for a better slice and will also allow your tongue to keep from getting burned.