When I first made Pumpkin Patch Strawberries, I wasn’t expecting them to be such a hit—but let me tell you, they disappeared faster than any pumpkin pie I’ve ever served. There’s something about that creamy orange chocolate coating hugging a juicy strawberry that just feels like fall. It’s the kind of treat that looks like you spent hours crafting, but really, it’s simple, fun, and a total showstopper at Halloween parties, fall festivals, or cozy nights in.
What Are Pumpkin Patch Strawberries?
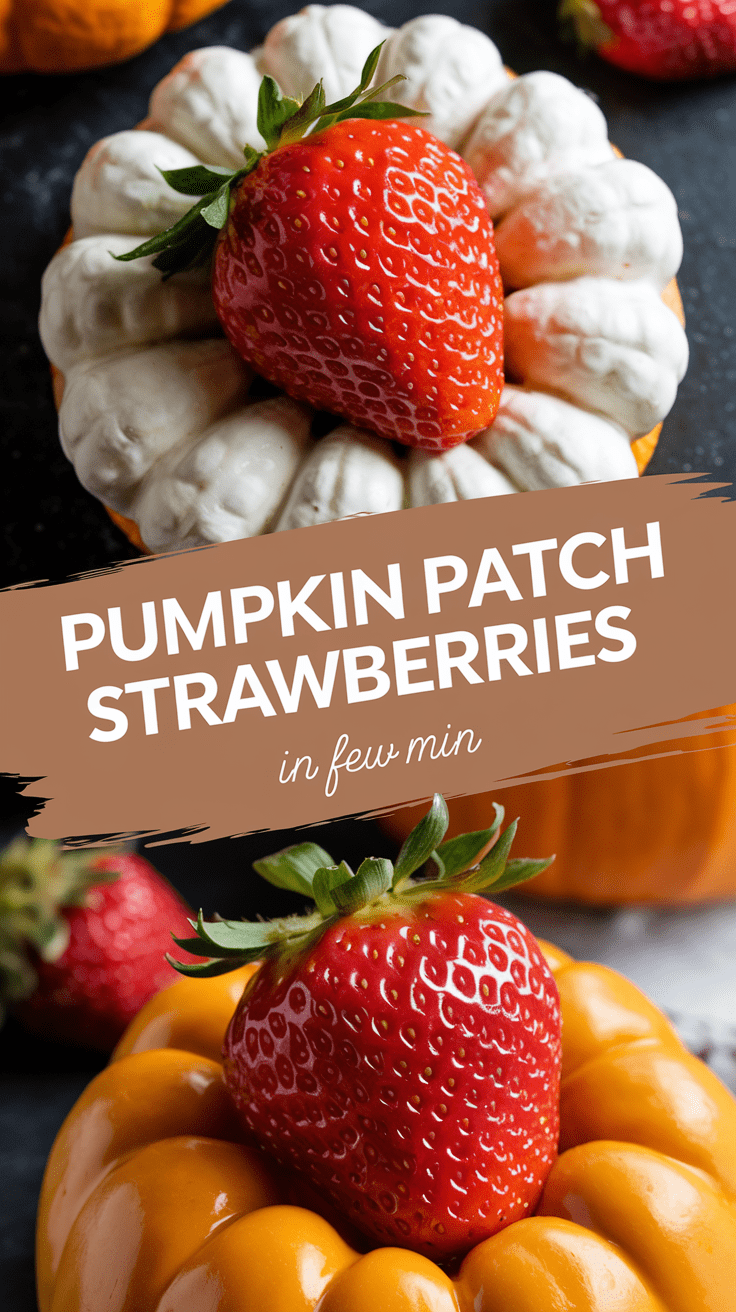
Pumpkin Patch Strawberries are fresh strawberries dipped in orange-tinted candy melts or white chocolate to look like tiny pumpkins. The green “stem” is usually a mini pretzel stick or a piped swirl of green chocolate, giving them that adorable patch-perfect look. They’re sweet, fruity, crunchy, and creamy all at once—a fall dessert that’s as fun to make as it is to eat.
Why This Recipe Is Special
This recipe captures the magic of fall without the baking fuss. You don’t need an oven, fancy tools, or hours of prep time. Just a few ingredients and a little creativity. What I love most is how each strawberry turns out slightly unique—just like real pumpkins in a patch. Plus, it’s a family-friendly project. Whether you’re decorating with your kids, prepping for a Halloween party, or just craving a seasonal treat, these pumpkin strawberries hit that perfect sweet spot between festive and simple.
Why You’ll Love This Recipe
- Quick & Easy: Takes under 30 minutes from start to finish.
- No Baking Required: All you need is a microwave and a little patience for dipping.
- Visually Stunning: They look straight out of a bakery window but are totally doable at home.
- Kid-Friendly Fun: Perfect for decorating with little hands (and sneaking a few strawberries).
- Customizable: Change up the colors, toppings, or stems to fit your vibe.
- Light & Fresh: A refreshing alternative to heavy fall desserts.
Tools You’ll Need
- Microwave-safe bowl: For melting chocolate or candy melts.
- Toothpicks or dipping fork: Helps you dip strawberries neatly without mess.
- Baking sheet: To hold the dipped strawberries while they set.
- Parchment paper: Prevents sticking—trust me, don’t skip this.
- Small piping bag or ziplock bag: For adding those cute green stems or vines.
- Microwave or double boiler: Whichever you prefer for melting.
Ingredients
Yields: 20 strawberries
Prep Time: 20 minutes
Cooling Time: 10 minutes
Total Time: 30 minutes
| Ingredient | US Amount | Metric |
|---|---|---|
| Fresh strawberries (washed & dried) | 20 medium | 20 medium |
| Orange candy melts or white chocolate chips | 1 ½ cups | 260 g |
| Coconut oil or vegetable shortening (for thinning) | 1 tbsp | 15 ml |
| Green candy melts (for stems/vines) | ¼ cup | 40 g |
| Mini pretzel sticks (optional) | 10 sticks, halved | — |
Step-by-Step Instructions
1. Prep Your Strawberries
Start by rinsing your strawberries and drying them completely. Moisture and chocolate are mortal enemies—if your berries are even slightly wet, the coating won’t stick properly. I usually lay them on paper towels for 10–15 minutes to air dry.
2. Melt the Orange Chocolate
In a microwave-safe bowl, add your orange candy melts and coconut oil. Microwave in 30-second bursts, stirring each time, until smooth and glossy. If you’re using white chocolate chips, melt them the same way, then stir in a few drops of orange food coloring. Don’t overheat—chocolate burns fast, and you’ll know by the smell!
3. Dip the Strawberries
Grab each strawberry by the stem (or use a toothpick) and dip it into the melted chocolate. Swirl it gently to coat all sides evenly. Let the excess drip off, then place it on a parchment-lined baking sheet. If the chocolate starts to thicken, reheat it for a few seconds.
4. Add the Stems
Before the coating hardens, gently press half a mini pretzel stick into the top of each strawberry. This will act as your pumpkin “stem.” If you prefer, you can wait until they set and pipe a little green swirl instead.
5. Decorate with Green Vines
Melt the green candy melts in a small bowl and transfer them into a piping bag or a small ziplock with a corner snipped off. Pipe little leaves or curly vines around the stem. Don’t stress about perfection—the charm is in the imperfect, handmade look.
6. Let Them Set
Pop the tray into the fridge for about 10 minutes or until the coating hardens. Once firm, they’re ready to serve!
Serving Ideas
- Arrange them on a platter filled with crushed graham crackers for a “pumpkin patch” effect.
- Serve alongside hot cocoa or apple cider for the ultimate fall dessert tray.
- Add them to a Halloween dessert board with candy corn, caramel popcorn, and cookies.
- Gift them in small boxes lined with tissue paper—they make adorable edible gifts.
Variations & Customizations
- White Chocolate Pumpkins: Use white chocolate and a tiny bit of orange food gel for a lighter, creamier finish.
- Dark Chocolate Pumpkins: Dip in orange-colored dark chocolate for a richer flavor.
- Pumpkin Faces: Use melted dark chocolate to draw little jack-o’-lantern faces once the coating sets.
- Flavor Twist: Add a drop of orange or vanilla extract to your melted chocolate for a subtle flavor boost.
Storage & Make-Ahead Tips
- Store in the fridge for up to 48 hours in an airtight container lined with paper towels.
- Don’t freeze them—the texture of strawberries changes when thawed.
- If making ahead for a party, dip and decorate the night before, then keep chilled until serving.
Pro Tips & Mistakes to Avoid
My Little Secrets for Success:
- Dry Strawberries = Smooth Coating: Even one drop of water can make your chocolate seize up.
- Thin the Chocolate: If your coating feels too thick, add a bit more coconut oil—it makes dipping silky smooth.
- Work Quickly: The candy melts harden fast, so dip and decorate in batches if needed.
- Avoid Overheating: Stop melting when most chips are soft; stir to finish melting off-heat.
- Keep Cool: Don’t leave your dipped strawberries at room temperature too long—they’ll start sweating.
Nutrition (Per Strawberry)
- Calories: 80
- Fat: 4 g
- Carbs: 10 g
- Protein: 1 g
- Fiber: 1 g
- Sugar: 8 g
Final Thoughts
There’s something almost magical about these Pumpkin Patch Strawberries. Every time I make them, I feel that cozy fall warmth before even tasting one. They’re cheerful, simple, and a little bit whimsical—the perfect reminder that sometimes, the best seasonal desserts don’t need to be complicated.
Pumpkin Patch Strawberries
4
servings20
minutes80
kcalPumpkin Patch Strawberries are fresh strawberries dipped in orange-tinted candy melts or white chocolate to look like tiny pumpkins. The green “stem” is usually a mini pretzel stick or a piped swirl of green chocolate, giving them that adorable patch-perfect look. They’re sweet, fruity, crunchy, and creamy all at once—a fall dessert that’s as fun to make as it is to eat.
Directions
- Prep Your Strawberries
- Start by rinsing your strawberries and drying them completely. Moisture and chocolate are mortal enemies—if your berries are even slightly wet, the coating won’t stick properly. I usually lay them on paper towels for 10–15 minutes to air dry.
- Melt the Orange Chocolate
- In a microwave-safe bowl, add your orange candy melts and coconut oil. Microwave in 30-second bursts, stirring each time, until smooth and glossy. If you’re using white chocolate chips, melt them the same way, then stir in a few drops of orange food coloring. Don’t overheat—chocolate burns fast, and you’ll know by the smell!
- Dip the Strawberries
- Grab each strawberry by the stem (or use a toothpick) and dip it into the melted chocolate. Swirl it gently to coat all sides evenly. Let the excess drip off, then place it on a parchment-lined baking sheet. If the chocolate starts to thicken, reheat it for a few seconds.
- Add the Stems
- Before the coating hardens, gently press half a mini pretzel stick into the top of each strawberry. This will act as your pumpkin “stem.” If you prefer, you can wait until they set and pipe a little green swirl instead.
- Decorate with Green Vines
- Melt the green candy melts in a small bowl and transfer them into a piping bag or a small ziplock with a corner snipped off. Pipe little leaves or curly vines around the stem. Don’t stress about perfection—the charm is in the imperfect, handmade look.
- Let Them Set
- Pop the tray into the fridge for about 10 minutes or until the coating hardens. Once firm, they’re ready to serve!
Notes
- Dry Strawberries = Smooth Coating: Even one drop of water can make your chocolate seize up.
Thin the Chocolate: If your coating feels too thick, add a bit more coconut oil—it makes dipping silky smooth.
Work Quickly: The candy melts harden fast, so dip and decorate in batches if needed.
Avoid Overheating: Stop melting when most chips are soft; stir to finish melting off-heat.
Keep Cool: Don’t leave your dipped strawberries at room temperature too long—they’ll start sweating.