For me, the No-Bake Funfetti Oreo Icebox Cake is like a magic wand that can instantly summon my inner child. The moment I prepare it, I remember that the pleasure in the kitchen does not always have to come from intricate and professional recipes; it can simply be a matter of a few layers of cookies, whipped cream, and, of course, sprinkles. It is super creamy, crunchy, and sweet, and at the same time, it is ridiculous to make. Honestly, you don’t have to even preheat your oven.
What Is a Funfetti Oreo Icebox Cake?
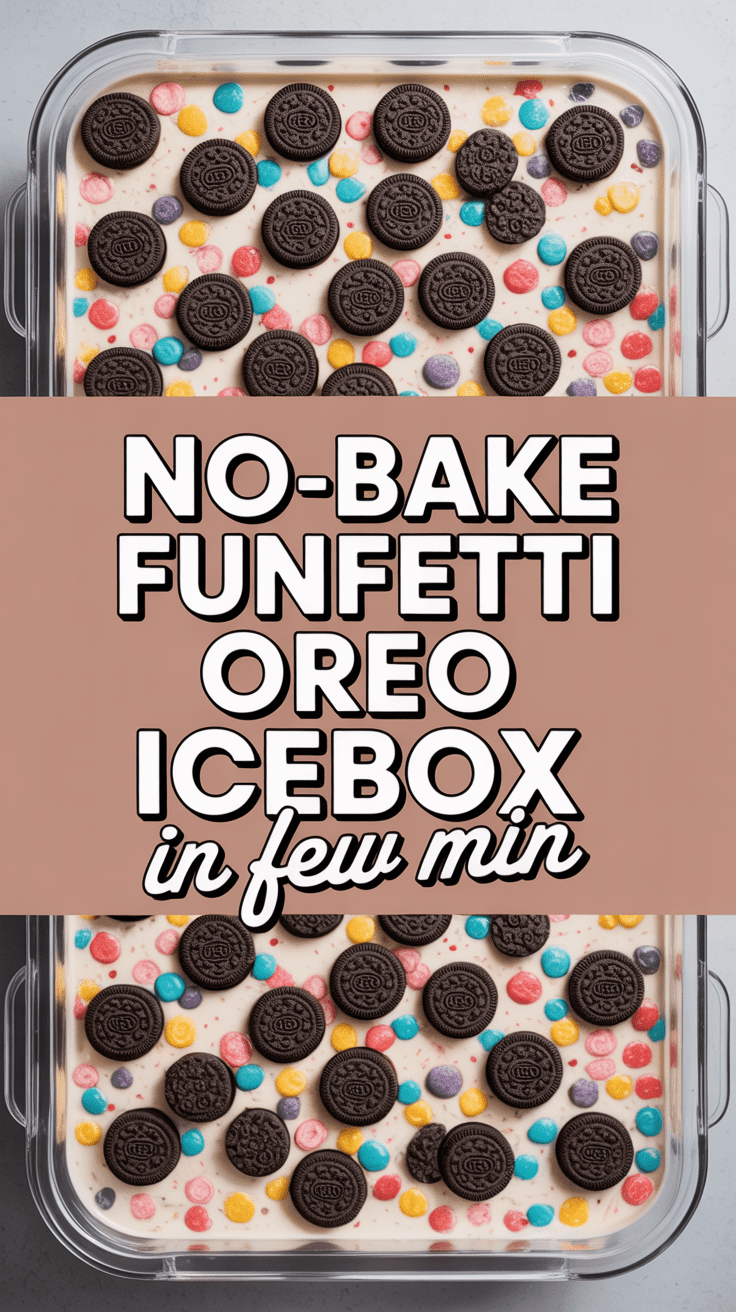
This delightful dessert is nothing but a sweet and colorful pile of Oreos that taste like Funfetti cake, fluffy whipped cream, and a little sweetness that freezes to perfection. The real magic works when it stays in the fridge overnight; the cookies become soft like cake, and every bite tastes like the prettiest and happiest-filled piece of hope. Picture it like a lazy day celebration cake that had to look like it took hours but indeed took just 15 minutes with absolutely no stress involved.
Why This Recipe Is So Special
I’ve done a lot of no-bake desserts, but this one brings back the feelings of the past. It’s fun, colorful, and impossible not to smile. This Funfetti Oreo Icebox Cake is a no-brainer crowd pleaser, especially if you are celebrating a birthday, a summer BBQ, or just coping with a long week. On top of that, it’s so wholesome that you practically cannot go wrong with it.
Why You’ll Love This Recipe
- No oven required – It is just the right dessert for hot days when you want something sweet without the heat.
- Quick and easy – Just layer and chill. There is no need for baking, and no mixing bowls getting filled with batter.
- Kid-approved fun – Pretty, colorful, and full of sprinkles.
- Make-ahead dessert – It even tastes better the next day after it’s been in the fridge overnight.
- Customizable – Change Oreos, add flavors, or just get wild with toppings.
Tools You’ll Need
You don’t need much—just the basics:
- 9×9 inch (23×23 cm) pan – Ideal for building even layers. A glass dish lets you see those colorful layers.
- Mixing bowl – For whipping cream or folding in toppings.
- Electric mixer or whisk – To whip your cream to soft peaks.
- Rubber spatula – Helps spread layers smoothly.
- Plastic wrap or lid – To cover the cake while it chills.
Ingredients
Here’s what you’ll need (and why):
- 2 packages (about 30-36 cookies) Funfetti Oreos (or Golden Oreos) – The base of your “cake” layers. Their texture softens perfectly overnight.
- 2 cups (480 ml) heavy whipping cream – The star that creates that fluffy, dreamy filling.
- 1/3 cup (40 g) powdered sugar – Sweetens the cream just enough.
- 1 teaspoon vanilla extract – Adds warmth and flavor depth.
- 1/4 cup (50 g) cream cheese (optional) – For a slightly tangy, stable filling (optional but amazing).
- 1/4 cup (40 g) rainbow sprinkles – The fun part. They make everything look happier.
Optional Toppings:
- Crushed Oreos
- Extra sprinkles
- White chocolate shavings
Step-by-Step Instructions
1. Whip the Cream
In a large mixing bowl, whip your heavy cream, powdered sugar, and vanilla until soft peaks form.
(If using cream cheese, beat it separately until smooth, then fold it in.)
Don’t overwhip—you want it fluffy, not stiff.
2. Prep the Pan
Coat your 9×9 dish with a thin layer of whipped cream—this holds the cookies securely.
3. First Cookie Layer
Over the cream, place Oreos in one layer only. You will probably have to smash a few to cover the empty spaces; however, do not worry, as no one will see them.
4. Add Whipped Cream Layer
Cover the cookies with a generous layer of whipped cream and even it out. For the cake, add one tiny handful of sprinkles for color.
5. Repeat Layers
Continue layering cookies and cream until there is no more (usually 3–4 layers). Finish off with whipped cream on top.
6. Decorate
Further, sprinkle the top with colorful sprinkles and few crushed Oreos. The more color, the better idea—it is a Funfetti celebration, after all.
7. Chill
Seal the dish and put it in the fridge for at least 6 hours—overnight is the best option. The cookies get softer, and the flavors become quite nice.
Serving Ideas
When ready to serve, slice it like a cake. I love pairing it with:
- A drizzle of chocolate or caramel sauce.
- Fresh strawberries or raspberries to contrast.
- A dollop of extra whipped cream (because why not?).
It’s cold, creamy, and melts in your mouth—like a party in every bite.
Variations and Customizations
- Flavor Change: Choose Birthday Cake Oreos, Gold Oreos, or even Chocolate Oreos.
- Gain Layers: Insert a thin layer of pudding, Nutella or cream cheese frosting between the cookie layers.
- Party Styles: Use pastel colors for Easter, red and green for Christmas, or orange and black for Halloween.
- Healthy Version: Light whipped topping and reduced-fat cookies—still a treat!
Make-Ahead and Storage
This dessert is actually better made ahead. The longer it chills, the creamier it gets.
- Make-Ahead: Assemble up to 24 hours in advance.
- Storage: Keep covered in the fridge for up to 4 days.
- Freezing: You can freeze slices in airtight containers for up to 1 month. Let thaw in the fridge before serving.
Pro Tips & Mistakes to Avoid
- Don’t skip the chill time. The texture transformation happens in the fridge.
- Go easy on the sprinkles inside the cream. A few are great; too many can bleed color.
- Use cold cream. Warm cream won’t whip properly.
- Smooth layers matter. Use a spatula for neat, bakery-style layers—it looks great when you slice it.
- Make it your own. No rules here—just have fun.
Recipe Summary
- Yield: 9 servings
- Prep Time: 20 minutes
- Chill Time: 6 hours (overnight preferred)
- Total Time: About 6 hours 20 minutes
- Per Serving (approx.):
- Calories: 290
- Fat: 18g
- Carbs: 29g
- Sugar: 18g
- Protein: 3g
Final Thoughts
This No-Bake Funfetti Oreo Icebox Cake is one of those desserts that brings smiles before it even hits the table. It’s colorful, comforting, and just the right amount of indulgent. I love how effortless it feels—you can throw it together on a whim, and it still looks party-ready.

No-Bake Funfetti Oreo Icebox Cake
4
servings20
minutes290
kcalThis delightful dessert is nothing but a sweet and colorful pile of Oreos that taste like Funfetti cake, fluffy whipped cream, and a little sweetness that freezes to perfection. The real magic works when it stays in the fridge overnight; the cookies become soft like cake, and every bite tastes like the prettiest and happiest-filled piece of hope. Picture it like a lazy day celebration cake that had to look like it took hours but indeed took just 15 minutes with absolutely no stress involved.
Ingredients
2 packages (about 30-36 cookies) Funfetti Oreos (or Golden Oreos) – The base of your “cake” layers. Their texture softens perfectly overnight.
2 cups (480 ml) heavy whipping cream – The star that creates that fluffy, dreamy filling.
1/3 cup (40 g) powdered sugar – Sweetens the cream just enough.
1 teaspoon vanilla extract – Adds warmth and flavor depth.
1/4 cup (50 g) cream cheese (optional) – For a slightly tangy, stable filling (optional but amazing).
1/4 cup (40 g) rainbow sprinkles – The fun part. They make everything look happier.
Optional Toppings:
Crushed Oreos
Extra sprinkles
White chocolate shavings
Directions
- Step-by-Step Instructions
- Whip the Cream
- In a large mixing bowl, whip your heavy cream, powdered sugar, and vanilla until soft peaks form.
- (If using cream cheese, beat it separately until smooth, then fold it in.)
- Don’t overwhip—you want it fluffy, not stiff.
- Prep the Pan
- Coat your 9x9 dish with a thin layer of whipped cream—this holds the cookies securely.
- First Cookie Layer
- Over the cream, place Oreos in one layer only. You will probably have to smash a few to cover the empty spaces; however, do not worry, as no one will see them.
- Add Whipped Cream Layer
- Cover the cookies with a generous layer of whipped cream and even it out. For the cake, add one tiny handful of sprinkles for color.
- Repeat Layers
- Continue layering cookies and cream until there is no more (usually 3–4 layers). Finish off with whipped cream on top.
- Decorate
- Further, sprinkle the top with colorful sprinkles and few crushed Oreos. The more color, the better idea—it is a Funfetti celebration, after all.
- Chill
- Seal the dish and put it in the fridge for at least 6 hours—overnight is the best option. The cookies get softer, and the flavors become quite nice.
Notes
- Don’t skip the chill time. The texture transformation happens in the fridge.
Go easy on the sprinkles inside the cream. A few are great; too many can bleed color.
Use cold cream. Warm cream won’t whip properly.
Smooth layers matter. Use a spatula for neat, bakery-style layers—it looks great when you slice it.
Make it your own. No rules here—just have fun.