Introduction
I have to admit—this Max and Ruby Cake always makes me smile. It’s bright, cheerful, and feels like something straight out of the cozy, colorful world of Max and Ruby, the beloved bunny siblings we all grew up watching. Every time I make this cake, it takes me back to those quiet weekend mornings with cartoons on the TV and the smell of something sweet baking in the oven. And honestly, isn’t that what good food should do—make you feel warm and nostalgic?
Today, I’m going to walk you through how to make your very own Max and Ruby Cake—something playful enough for a child’s birthday, but so delicious you’ll find yourself sneaking a second slice after the party’s over.
What Is Max and Ruby Cake?
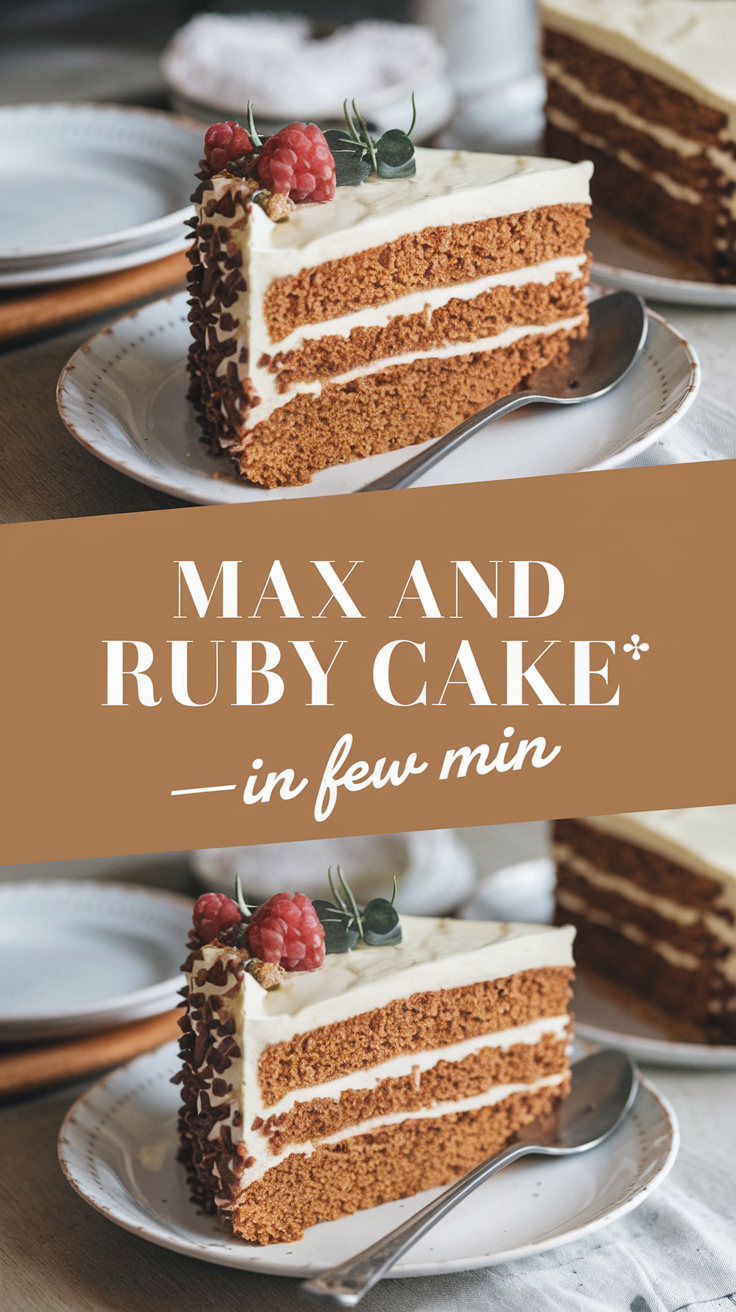
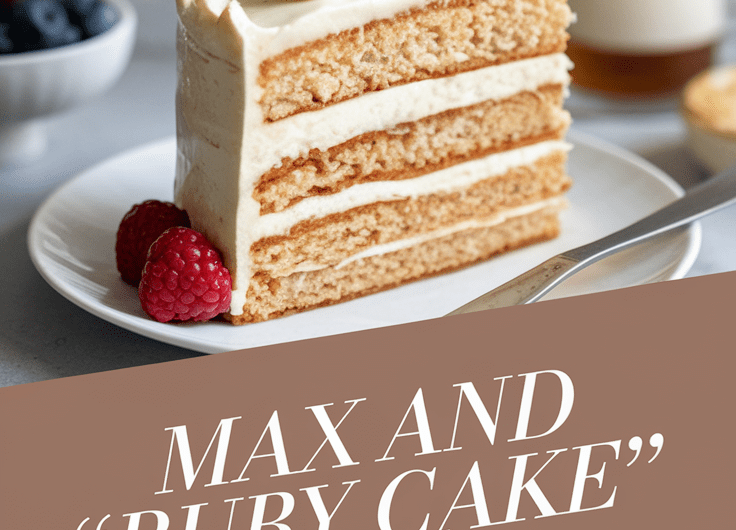
At its heart, this is a soft, buttery vanilla layer cake filled with fluffy frosting and topped with a charming Max and Ruby-inspired design. You can keep it simple with whipped cream and strawberries (like something Grandma would make on the show) or go all out with fondant bunnies and colorful buttercream details.
It’s a cake that’s not just about taste—it’s about joy. You’ll feel that joy as you mix, frost, and decorate it, and especially when you see little faces light up at the sight of it.
Why This Recipe Is Special
This cake is a celebration of childhood—pure and simple. It’s the kind of dessert that brings families together, just like the stories of Max and Ruby. I love how it balances comforting homemade flavor with just enough creativity to make it truly memorable.
It’s also surprisingly approachable. Even if you’re not a professional baker, you’ll be amazed at what you can create with a little patience and a playful spirit.
❤️ Why You’ll Love This Recipe
- Kid-Friendly Fun: It’s bright, colorful, and totally customizable for your little one’s favorite characters or scenes.
- Tender and Buttery Texture: The cake layers are moist, soft, and melt-in-your-mouth good.
- Simple Ingredients: Everything you need is already in your pantry or easy to find at any grocery store.
- Make-Ahead Friendly: You can bake the layers the day before and decorate later—no stress, no rush.
- Crowd Pleaser: Adults love it just as much as kids (sometimes more!).
🧁 Tools You’ll Need
Let’s get your kitchen ready! Here’s what I use and why it helps:
- Two 8-inch (20 cm) round cake pans: Perfect for even layers that stack beautifully.
- Mixing bowls: You’ll need one for dry ingredients, one for wet, and one for the frosting.
- Electric mixer (hand or stand): Helps whip the batter and frosting to fluffy perfection.
- Rubber spatula: For scraping every last bit of batter and spreading frosting smoothly.
- Offset spatula: Makes decorating so much easier—especially if you’re doing bunny faces!
- Cooling rack: To cool the cakes evenly without trapping moisture.
- Parchment paper: Keeps your cake from sticking to the pans.
🍰 Ingredients
For the Cake
- 2 ½ cups (315 g) all-purpose flour
- 2 ½ tsp baking powder
- ½ tsp salt
- 1 cup (225 g) unsalted butter, softened
- 1 ¾ cups (350 g) granulated sugar
- 4 large eggs (room temperature)
- 1 tbsp vanilla extract
- 1 cup (240 ml) whole milk
For the Frosting
- 1 cup (225 g) unsalted butter, softened
- 4 cups (500 g) powdered sugar, sifted
- 2 tbsp heavy cream (plus more as needed)
- 2 tsp vanilla extract
- Pinch of salt
For Decoration (Optional but Fun!)
- Food coloring (pink, white, blue for Max and Ruby themes)
- Fresh strawberries or raspberries
- Small fondant decorations or edible images of Max and Ruby
👩🍳 Step-by-Step Instructions
1. Prep the Pans
Preheat your oven to 350°F (175°C). Line two 8-inch pans with parchment paper and lightly grease the sides. I always do this first—it’s a small step that saves a big headache later!
2. Mix Dry Ingredients
In a medium bowl, whisk together flour, baking powder, and salt. This ensures even distribution and a fluffy crumb later.
3. Cream Butter and Sugar
In a large bowl, beat the butter and sugar on medium-high speed for 3–4 minutes, until light and fluffy. Don’t rush this—this step gives the cake its soft texture.
4. Add Eggs and Vanilla
Beat in the eggs one at a time, then add the vanilla. If the mixture looks a bit curdled, don’t panic—it’ll smooth out once you add the dry ingredients.
5. Combine Wet and Dry
Alternate adding the flour mixture and milk, starting and ending with the flour. Mix gently after each addition. Overmixing can make the cake tough, so just stir until combined.
6. Bake
Divide the batter evenly between your pans and smooth the tops. Bake for 25–30 minutes, or until a toothpick inserted in the center comes out clean.
7. Cool Completely
Cool the cakes in the pans for 10 minutes, then transfer to a rack. Let them cool fully before frosting (trust me, warm cake will melt your hard work!).
8. Make the Frosting
Beat butter until creamy. Add powdered sugar gradually, then mix in vanilla, cream, and salt. If it’s too thick, add a splash more cream.
9. Assemble and Decorate
Place one cake layer on a plate, spread frosting evenly, then top with the second layer. Frost the outside and smooth it out.
Now comes the fun part—decorate! Tint frosting in pastel colors, add bunny ears with fondant, or pipe on cheerful little faces. You can go as simple or as whimsical as you like.
🍓 Serving Ideas
- Serve with fresh berries and a drizzle of cream for a farmhouse touch.
- Add sprinkles or edible glitter for a birthday bash.
- Pair with vanilla ice cream if you’re serving it after dinner.
✨ Variations & Customizations
- Chocolate Version: Swap ½ cup of flour for cocoa powder for a Max-and-Ruby chocolate dream.
- Strawberry Layer: Add chopped strawberries between the layers for a fruity surprise.
- Rainbow Bunny Cake: Divide the batter and tint each portion a different color before baking.
🧊 Storage & Make-Ahead Tips
- Room Temp: Keeps well covered for up to 2 days.
- Fridge: Store up to 5 days—just bring to room temp before serving.
- Freeze: Wrap unfrosted layers tightly and freeze up to 2 months. Thaw overnight before frosting.
💡 Pro Tips & Mistakes to Avoid
Pro Tips:
- Use room temperature ingredients—they blend better and create a smoother batter.
- Level your cake layers with a serrated knife for a professional finish.
- Chill the cake briefly before decorating—it helps the frosting set and makes designs neater.
Mistakes to Avoid:
- Don’t overmix the batter or the cake will turn dense.
- Avoid frosting warm cake (it’ll slide right off!).
- Don’t skip the crumb coat if you’re doing detailed decoration—it keeps things clean and tidy.
📋 Recipe Summary
Yield: 10–12 servings
Prep Time: 25 minutes
Cook Time: 30 minutes
Total Time: ~1 hour (plus cooling)
Estimated Nutrition (per serving):
Calories: ~420 | Fat: 22g | Carbs: 52g | Protein: 4g | Sugar: 36g
💬 Final Thoughts
Making this Max and Ruby Cake is about more than baking—it’s about creating a little piece of joy. I love how it brings smiles to both the baker and the eater, and I think you’ll feel the same. Whether you’re making it for a birthday, a family gathering, or just because, this cake has a way of making any day feel special.
Max and Ruby Cake
4
servings25
minutes30
minutes420
kcalAt its heart, this is a soft, buttery vanilla layer cake filled with fluffy frosting and topped with a charming Max and Ruby-inspired design. You can keep it simple with whipped cream and strawberries (like something Grandma would make on the show) or go all out with fondant bunnies and colorful buttercream details.
Ingredients
For the Cake
2 ½ cups (315 g) all-purpose flour
2 ½ tsp baking powder
½ tsp salt
1 cup (225 g) unsalted butter, softened
1 ¾ cups (350 g) granulated sugar
4 large eggs (room temperature)
1 tbsp vanilla extract
1 cup (240 ml) whole milk
For the Frosting
1 cup (225 g) unsalted butter, softened
4 cups (500 g) powdered sugar, sifted
2 tbsp heavy cream (plus more as needed)
2 tsp vanilla extract
Pinch of salt
For Decoration (Optional but Fun!)
Food coloring (pink, white, blue for Max and Ruby themes)
Fresh strawberries or raspberries
Small fondant decorations or edible images of Max and Ruby
Directions
- Prep the Pans
- Preheat your oven to 350°F (175°C). Line two 8-inch pans with parchment paper and lightly grease the sides. I always do this first—it’s a small step that saves a big headache later!
- Mix Dry Ingredients
- In a medium bowl, whisk together flour, baking powder, and salt. This ensures even distribution and a fluffy crumb later.
- Cream Butter and Sugar
- In a large bowl, beat the butter and sugar on medium-high speed for 3–4 minutes, until light and fluffy. Don’t rush this—this step gives the cake its soft texture.
- Add Eggs and Vanilla
- Beat in the eggs one at a time, then add the vanilla. If the mixture looks a bit curdled, don’t panic—it’ll smooth out once you add the dry ingredients.
- Combine Wet and Dry
- Alternate adding the flour mixture and milk, starting and ending with the flour. Mix gently after each addition. Overmixing can make the cake tough, so just stir until combined.
- Bake
- Divide the batter evenly between your pans and smooth the tops. Bake for 25–30 minutes, or until a toothpick inserted in the center comes out clean.
- Cool Completely
- Cool the cakes in the pans for 10 minutes, then transfer to a rack. Let them cool fully before frosting (trust me, warm cake will melt your hard work!).
- Make the Frosting
- Beat butter until creamy. Add powdered sugar gradually, then mix in vanilla, cream, and salt. If it’s too thick, add a splash more cream.
- Assemble and Decorate
- Place one cake layer on a plate, spread frosting evenly, then top with the second layer. Frost the outside and smooth it out.
- Now comes the fun part—decorate! Tint frosting in pastel colors, add bunny ears with fondant, or pipe on cheerful little faces. You can go as simple or as whimsical as you like.
Notes
- Pro Tips:
Use room temperature ingredients—they blend better and create a smoother batter.
Level your cake layers with a serrated knife for a professional finish.
Chill the cake briefly before decorating—it helps the frosting set and makes designs neater.
Mistakes to Avoid:
Don’t overmix the batter or the cake will turn dense.
Avoid frosting warm cake (it’ll slide right off!).
Don’t skip the crumb coat if you’re doing detailed decoration—it keeps things clean and tidy.