There’s something really nice about the aroma of corned beef that is gently simmering on the stove, as it gradually fills the kitchen with delightful smells of warmth, spices, and even a slight feeling of nostalgia. Personally, I consider the preparing of corned beef at home to be one of those cooking projects that are notably rewarding and also very enjoyable thus one feels in touch with tradition while making something really delicious from the scratch. And believe me, once you taste your own corned beef, you will not see the version available in stores as before.
What is Corned Beef?
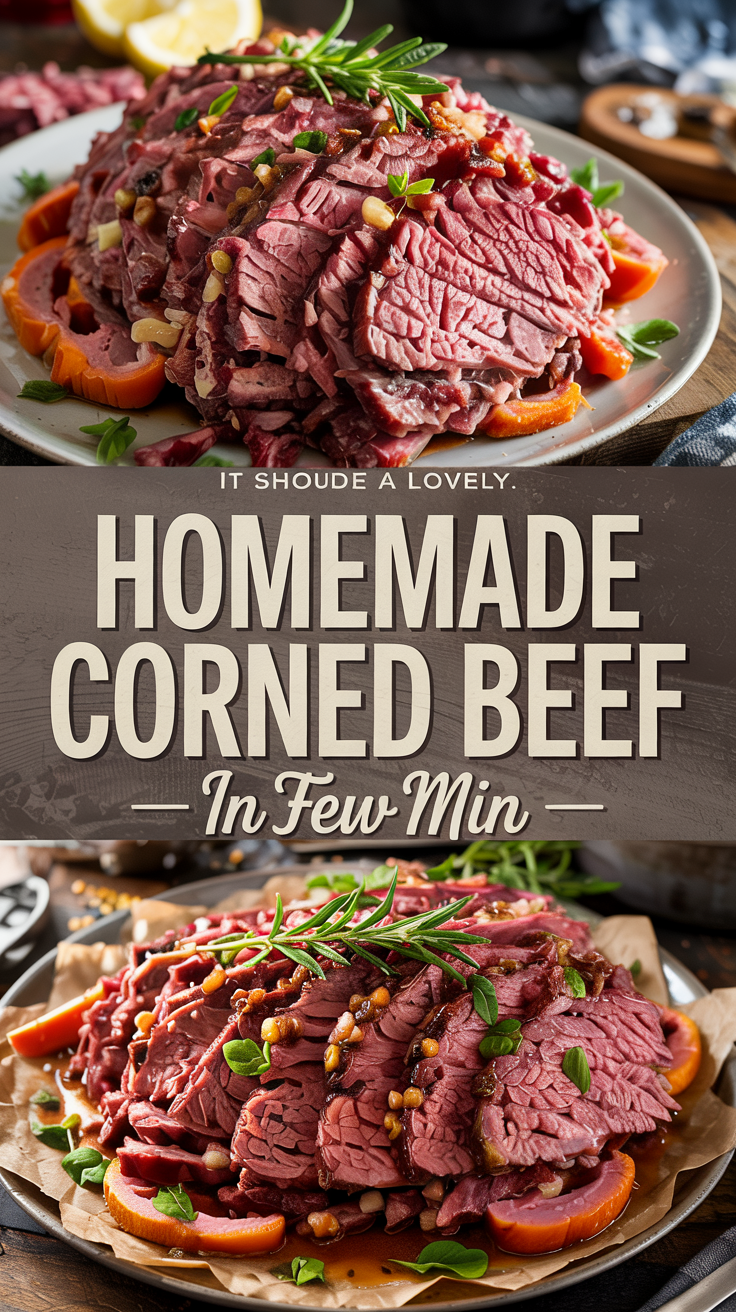
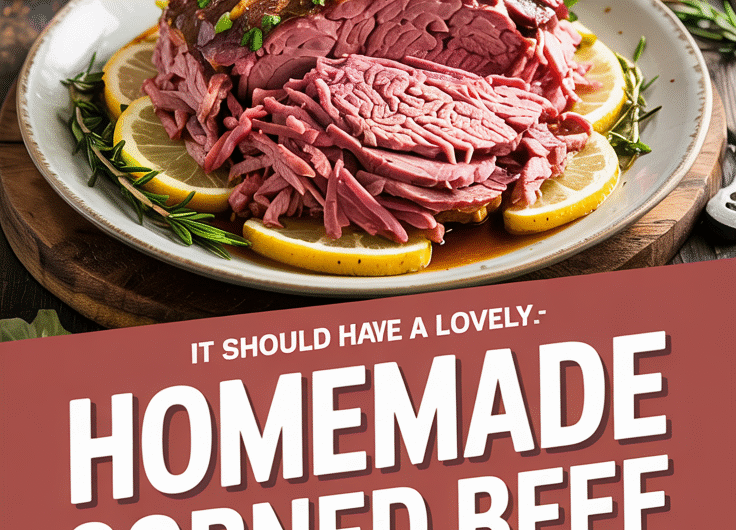
Corned beef is, in a nutshell beef brisket that has been salted and spiced in brine for several days and afterward cooked very slowly until the meat is soft and full of flavor. The word “corned” has its origin in the Old English language as the term for the big salt granules (“corns”) that were used in the brining process.
Corned beef is often seen to be served on St. Patrick’s Day together with cabbage and potatoes, but really it is just as good and even better in different ways any time of the year—especially very thinly sliced on rye bread with mustard, or mixed up with potatoes and fried for breakfast as a crispy hash.
Why This Recipe is Special
The most attractive aspect of this home-made version is the richness of the taste you can get through regulating each factor of the cure. The combination of the spices: peppercorns, mustard seed, and cloves, for instance, penetrates the meat very well. The sweetness, along with the saltiness of the texture, is very soft and much less salty than that of most packaged versions. I personally like to be aware of what exactly is in my food, and this recipe gives you a chance to discard the preservatives while still getting that typical pink, savory, melting, and smooth-textured result.
Why You’ll Love This Recipe
You’re going to love making your own corned beef because:
- It’s surprisingly simple to do. You will do practically nothing, and the brine will just keep doing its work.
- The flavor is unmatched. Everything that you make yourself far surpasses the hash that is sold as pre-packaged. ‘
- It’s a conversation starter. Friends won’t believe you made it yourself!
Tools You’ll Need
Here’s what you’ll need to make corned beef at home, with a quick note on why each matters:
- Large non-reactive pot or Dutch oven: (6–8 quart) You’ll use this to simmer the brisket. Stainless steel or enameled cast iron is best.
- Large glass or plastic container: To hold the brine and meat during curing (avoid metal—it reacts with the brine).
- Measuring cups and spoons: Accuracy matters here for salt and spices.
- Digital scale (optional): If you prefer to measure your salt by weight for precision.
- Tongs: Handy for turning or lifting the beef.
- Fine-mesh strainer: To rinse the brine spices before cooking.
Ingredients
For the Brine (US + Metric)
- 4–5 lb (1.8–2.3 kg) beef brisket, trimmed of excess fat
- 4 cups (1 L) water
- 4 cups (1 L) ice water
- 1 cup (220 g) kosher salt
- ½ cup (100 g) brown sugar
- 2 tbsp (30 g) pink curing salt (Prague powder #1)
- 2 tbsp (20 g) pickling spice mix
- 6 garlic cloves, crushed
- 2 bay leaves
- 1 tbsp (10 g) black peppercorns
For Cooking
- 1 large onion, quartered
- 2 carrots, roughly chopped
- 2 celery stalks, roughly chopped
- 1 tbsp (10 g) pickling spice
- Enough water to cover the meat
Step-by-Step Instructions
Step 1: Make the Brine
In a huge pot, mix together 4 cups of water, kosher salt, brown sugar, pink curing salt, and pickling spice. Heat it up till it simmers, mixing all the while till the salt and sugar dissolve completely. The next step is adding the garlic, bay leaves, and peppercorns. Remove it from the stove when the brine is completely dissolved and let it cool. Then add 4 cups of ice water to hasten the cooling process and get it to room temperature.
Step 2: Brine the Brisket
Get your big container ready with the brisket inside and pour the brine that has already cooled down over it. It is important to submerge the meat completely—you can put a small plate on top to keep it down. Seal it tightly and put it in the fridge for 5-7 days. Remember to turn the meat every day so it doesn’t get cured unevenly. (Indeed, this step takes a lot of time, but it is really worth it. The next day, the salt and spices are already inside the meat.)
Step 3: Rinse the Brisket
After the curing period, take the brisket out of the brine and rinse it well under cold running water. This process helps to tone down the saltiness in the beef so the final product is not too salty.
Step 4: Cook It Low and Slow
Get the brisket into a large pot and cover it with new water. Add onion, carrots, celery, and the remaining pickling spice. Allow to come to a gentle boil, then lower to a simmer. Cover and simmer for around 3–4 hours, or till the meat is soft enough to break apart with a fork easily.
Step 5: Rest and Slice
When ready, take the brisket out of the broth and let it rest for about 15 minutes. Always cut along the grain—this will make the meat tender and very easy to chew.
Serving Ideas
- Serve hot along with boiled cabbage, carrots, and potatoes for a traditional meal.
- Cut into thin slices for Reuben sandwiches with sauerkraut and Swiss cheese.
- Chop leftovers and make a corned beef hash topped with a fried egg.
- Mix it with tacos and mustard slaw for a fun twist.
Variations & Customizations
- Spicy version: Add extra red pepper flakes to the brine.
- Sweet twist: Mix in a few tablespoons of honey or maple syrup for a subtle sweetness.
- Beer-brined beef: Swap half the water in the brine with dark beer for a richer flavor.
- Garlic lover’s version: Double the garlic and add a touch of smoked paprika for depth.
Storage & Make-Ahead Tips
- Refrigerate: Store cooked corned beef in an airtight container with a bit of its cooking liquid for up to 5 days.
- Freeze: Wrap tightly in foil and freeze for up to 2 months. Thaw overnight in the fridge before reheating.
- Reheat: Gently simmer slices in a bit of broth or water to keep them moist.
Pro Tips & Mistakes to Avoid
Think of this section as my little notebook of wisdom—the things I wish I’d known when I first made corned beef at home:
- Don’t skip pink curing salt. It’s what gives corned beef its signature rosy color and preserves it safely.
- Be patient with the brine. Rushing this step means uneven flavor.
- Always rinse before cooking. Otherwise, you’ll end up with overly salty meat.
- Slice against the grain. This one simple step makes a massive difference in tenderness.
- Keep the simmer gentle. A rolling boil toughens the meat—low and slow wins here.
Recipe Details
- Yield: 6–8 servings
- Prep time: 30 minutes (plus 5–7 days curing)
- Cook time: 3–4 hours
- Total time: About 1 week
- Calories: ~320 per serving
- Protein: 32 g
- Fat: 20 g
- Carbs: 2 g
Final Thoughts
Homemade corned beef takes a bit of time, but the payoff is huge. The satisfaction of slicing into that perfectly tender, flavorful brisket—knowing you made it from start to finish—is unbeatable. It’s the kind of recipe that makes your kitchen smell amazing and your table feel special.
Homemade Corned Beef Recipe
4
servings30
minutes3
hours320
kcalCorned beef is, in a nutshell beef brisket that has been salted and spiced in brine for several days and afterward cooked very slowly until the meat is soft and full of flavor. The word “corned” has its origin in the Old English language as the term for the big salt granules (“corns”) that were used in the brining process.
Ingredients
For the Brine (US + Metric)
4–5 lb (1.8–2.3 kg) beef brisket, trimmed of excess fat
4 cups (1 L) water
4 cups (1 L) ice water
1 cup (220 g) kosher salt
½ cup (100 g) brown sugar
2 tbsp (30 g) pink curing salt (Prague powder #1)
2 tbsp (20 g) pickling spice mix
6 garlic cloves, crushed
2 bay leaves
1 tbsp (10 g) black peppercorns
For Cooking
1 large onion, quartered
2 carrots, roughly chopped
2 celery stalks, roughly chopped
1 tbsp (10 g) pickling spice
Enough water to cover the meat
Directions
- Step 1: Make the Brine
- In a huge pot, mix together 4 cups of water, kosher salt, brown sugar, pink curing salt, and pickling spice. Heat it up till it simmers, mixing all the while till the salt and sugar dissolve completely. The next step is adding the garlic, bay leaves, and peppercorns. Remove it from the stove when the brine is completely dissolved and let it cool. Then add 4 cups of ice water to hasten the cooling process and get it to room temperature.
- Step 2: Brine the Brisket
- Get your big container ready with the brisket inside and pour the brine that has already cooled down over it. It is important to submerge the meat completely—you can put a small plate on top to keep it down. Seal it tightly and put it in the fridge for 5-7 days. Remember to turn the meat every day so it doesn't get cured unevenly. (Indeed, this step takes a lot of time, but it is really worth it. The next day, the salt and spices are already inside the meat.)
- Step 3: Rinse the Brisket
- After the curing period, take the brisket out of the brine and rinse it well under cold running water. This process helps to tone down the saltiness in the beef so the final product is not too salty.
- Step 4: Cook It Low and Slow
- Get the brisket into a large pot and cover it with new water. Add onion, carrots, celery, and the remaining pickling spice. Allow to come to a gentle boil, then lower to a simmer. Cover and simmer for around 3–4 hours, or till the meat is soft enough to break apart with a fork easily.
- Step 5: Rest and Slice
- When ready, take the brisket out of the broth and let it rest for about 15 minutes. Always cut along the grain—this will make the meat tender and very easy to chew.
Notes
- Think of this section as my little notebook of wisdom—the things I wish I’d known when I first made corned beef at home:
Don’t skip pink curing salt. It’s what gives corned beef its signature rosy color and preserves it safely.
Be patient with the brine. Rushing this step means uneven flavor.
Always rinse before cooking. Otherwise, you’ll end up with overly salty meat.
Slice against the grain. This one simple step makes a massive difference in tenderness.
Keep the simmer gentle. A rolling boil toughens the meat—low and slow wins here.