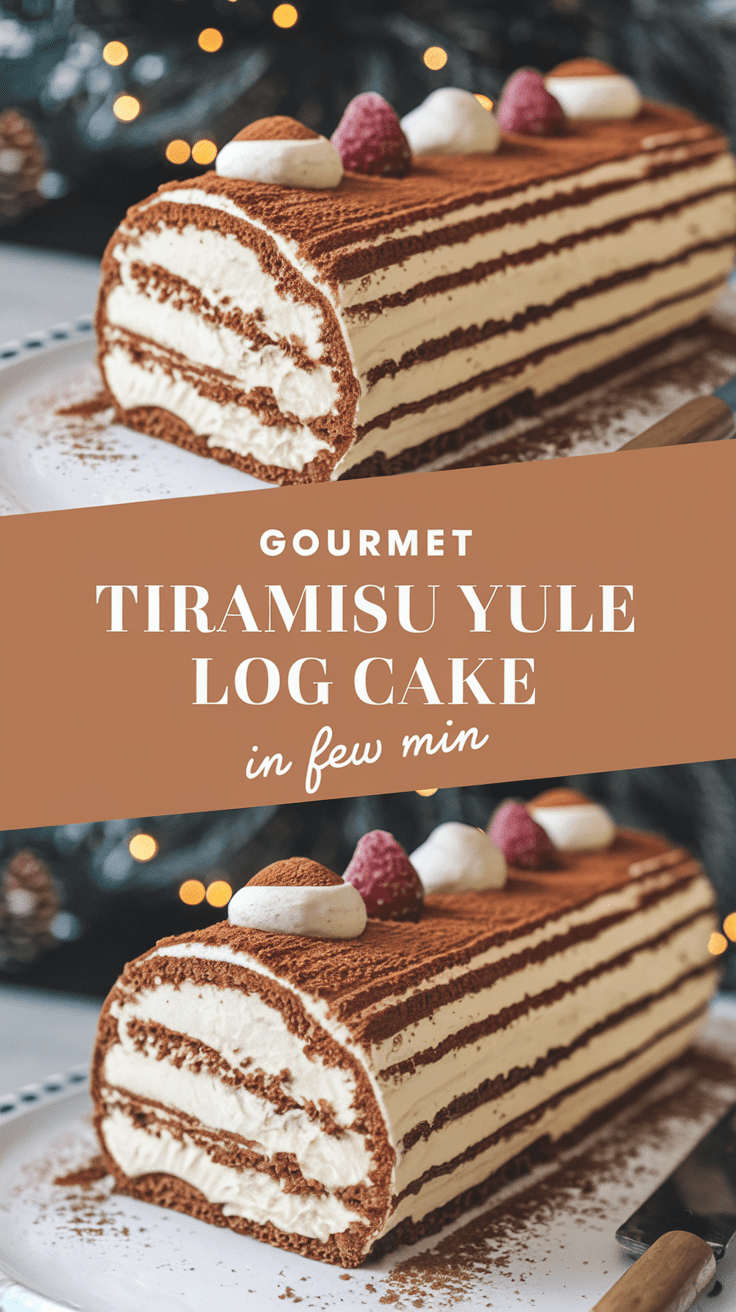
I’ve got to say. this Gourmet Tiramisu Yule Log Cake might be one of the most satisfying things I’ve baked in months. There’s something about combining the elegance of a classic tiramisu with the festive charm of a Yule log that just feels right. every slice looks like it belongs on a holiday dessert table, and honestly, it tastes even better than it looks.
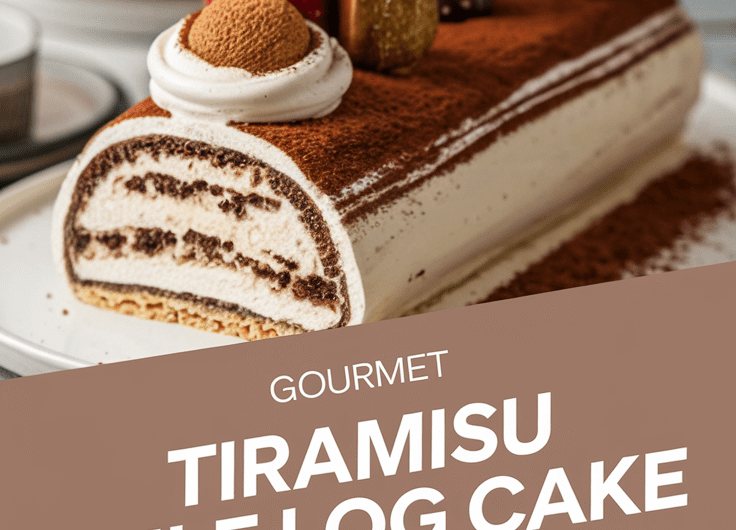
This recipe blends a light espresso-soaked sponge, creamy mascarpone filling, and a cocoa-dusted exterior that feels both nostalgic and luxurious. You get the drama of a rolled cake without the stiffness of a traditional buttercream. instead, it’s fluffy, cloud-like, and so ridiculously good that you’ll want to grab a fork before the cake even cools.
And here’s the real kicker. it looks fancy but feels surprisingly doable. I’ll walk you through everything step by step, so you can enjoy the fun parts without stressing over the roll or the filling.
Why This Recipe Is Special
This cake brings together two holiday icons. the tiramisu and the bûche de Noël. I love how the espresso flavor balances the sweetness. and because the mascarpone filling is lighter than typical frostings, the whole dessert feels indulgent yet not heavy. Plus, rolling cakes has this oddly satisfying moment where you unroll them and see the perfect spiraled layers. you’ll see what I mean.
Why You’ll Love This Recipe
- Deep, cozy coffee flavor that pairs perfectly with cocoa
- Soft, flexible sponge cake that rolls without cracking
- Ultra creamy mascarpone filling that feels silky and dreamy
- Surprisingly simple steps with big gourmet payoff
- A holiday centerpiece that makes people think you’re a pastry magician
- Easy to customize with liqueurs, toppings, or cocoa blends
Recipe Details
Yield: 10 to 12 servings
Prep Time: 35 minutes
Cook Time: 12 minutes
Cooling and Assembly Time: 1 hour
Total Time: about 1 hour 45 minutes
Approx. Nutrition per Serving (based on 12 servings):
300 to 340 calories, 18g fat, 32g carbs, 5g protein
Tools You’ll Need
- 10×15 inch jelly roll pan (25×38 cm). This helps the sponge bake thin and evenly.
- Parchment paper. Makes rolling the cake smooth and prevents sticking.
- Large mixing bowls. For whipping eggs and folding batter gently.
- Electric mixer or stand mixer. Trust me. you’ll want this for the mascarpone and for beating egg whites.
- Rubber spatula. Helps fold the batter without deflating it.
- Fine mesh sifter. For dusting cocoa and making everything look polished.
- Clean kitchen towel. This is the secret weapon for rolling the warm sponge.
Ingredients
For the Sponge Cake
- 4 large eggs, separated
- 3/4 cup granulated sugar (150g)
- 1 teaspoon vanilla extract
- 1 cup all-purpose flour (120g)
- 2 tablespoons cocoa powder (14g)
- 1 teaspoon baking powder
- Pinch of salt
For the Espresso Syrup
- 1/2 cup strong brewed coffee or espresso (120ml), cooled
- 1 tablespoon sugar
- Optional. 1 tablespoon coffee liqueur (Kahlúa or Tia Maria)
For the Mascarpone Filling
- 1 1/4 cups heavy cream (300ml), cold
- 8 oz mascarpone cheese (226g)
- 1/3 cup powdered sugar (40g)
- 1 teaspoon vanilla extract
For Topping
- Unsweetened cocoa powder for dusting
- Chocolate curls or shavings (optional)
- Powdered sugar (optional, snow effect)
Step-by-Step Instructions
1. Prepare the Pan
Preheat your oven to 350°F (175°C).
Line your jelly roll pan with parchment. Make sure the parchment goes up the sides. it makes releasing the cake much easier.
2. Whip the Egg Whites
Beat egg whites with a pinch of salt until soft peaks form. Slowly add half the sugar and continue beating until glossy. You want the texture to look like shiny clouds.
3. Beat Egg Yolks
In a separate bowl, beat the egg yolks with the remaining sugar and vanilla until pale and slightly thick. You’ll know it’s ready when ribbons form as you lift the mixer.
4. Combine the Batters
Sift flour, cocoa, and baking powder right over the yolk mixture. Fold gently. Then fold in the egg whites. Don’t rush this part. your air bubbles are what keep the sponge soft and rollable.
5. Bake
Spread the batter evenly in the pan. Bake for 10 to 12 minutes. The top should bounce back lightly when pressed.
6. Roll While Warm
Turn the cake out onto a clean kitchen towel dusted with cocoa. Peel away the parchment.
Roll the cake up with the towel inside. Yes, it feels strange but it works. Let it cool completely.
7. Make the Filling
Whip the cold heavy cream until thick but not grainy. In another bowl, mix mascarpone, powdered sugar, and vanilla until smooth. Fold in the whipped cream. The texture should feel like whipped silk.
8. Unroll and Assemble
Gently unroll your cooled cake. Brush generously with the espresso syrup. Spread a thick layer of mascarpone filling on top. Roll it back up without the towel. Don’t worry if a little filling squeezes out. that’s part of the charm.
9. Dust and Decorate
Place the cake seam-side down. Dust with cocoa powder. Add chocolate curls or powdered sugar if you’re feeling festive.
10. Chill
Let the cake chill for at least 30 minutes. This helps it firm up and slice cleanly.
Serving Ideas
- Slice thick pieces and serve with fresh berries
- Add a dollop of lightly sweetened whipped cream
- Pair with espresso or hot chocolate
- Drizzle a tiny bit of chocolate sauce for extra drama
Variations and Customizations
- Swap cocoa sponge for vanilla sponge if you want a lighter look
- Add cinnamon or nutmeg to the filling for winter warmth
- Use almond extract instead of vanilla for a twist
- Replace espresso syrup with hot chocolate syrup for kids
Storage and Make-Ahead Tips
- Fridge. Keep covered for up to 3 days
- Freezer. Freeze tightly wrapped for up to 1 month. thaw in the fridge
- Make-ahead. Bake the sponge a day ahead and assemble the next day
Pro Tips and Mistakes to Avoid
- Whip egg whites just until glossy. over-beating makes the cake dry
- Don’t skip rolling the warm sponge. it sets the shape
- Cool completely before filling or the mascarpone will melt
- Use cold cream. warm cream won’t whip properly
- Don’t soak the cake too much. it’ll turn mushy fast
If you decide to give this Gourmet Tiramisu Yule Log Cake a try, I’d genuinely love to hear how it turns out. Share it, tweak it, make it your own. this dessert has a way of becoming a holiday tradition pretty quickly.
Gourmet Tiramisu Yule Log Cake
4
servings35
minutes12
minutes300
kcalThis recipe blends a light espresso-soaked sponge, creamy mascarpone filling, and a cocoa-dusted exterior that feels both nostalgic and luxurious. You get the drama of a rolled cake without the stiffness of a traditional buttercream. instead, it’s fluffy, cloud-like, and so ridiculously good that you’ll want to grab a fork before the cake even cools.
Ingredients
For the Sponge Cake
4 large eggs, separated
3/4 cup granulated sugar (150g)
1 teaspoon vanilla extract
1 cup all-purpose flour (120g)
2 tablespoons cocoa powder (14g)
1 teaspoon baking powder
Pinch of salt
For the Espresso Syrup
1/2 cup strong brewed coffee or espresso (120ml), cooled
1 tablespoon sugar
Optional. 1 tablespoon coffee liqueur (Kahlúa or Tia Maria)
For the Mascarpone Filling
1 1/4 cups heavy cream (300ml), cold
8 oz mascarpone cheese (226g)
1/3 cup powdered sugar (40g)
1 teaspoon vanilla extract
For Topping
Unsweetened cocoa powder for dusting
Chocolate curls or shavings (optional)
Powdered sugar (optional, snow effect)
Directions
- Step-by-Step Instructions
- Prepare the Pan
- Preheat your oven to 350°F (175°C).
- Line your jelly roll pan with parchment. Make sure the parchment goes up the sides. it makes releasing the cake much easier.
- Whip the Egg Whites
- Beat egg whites with a pinch of salt until soft peaks form. Slowly add half the sugar and continue beating until glossy. You want the texture to look like shiny clouds.
- Beat Egg Yolks
- In a separate bowl, beat the egg yolks with the remaining sugar and vanilla until pale and slightly thick. You’ll know it’s ready when ribbons form as you lift the mixer.
- Combine the Batters
- Sift flour, cocoa, and baking powder right over the yolk mixture. Fold gently. Then fold in the egg whites. Don’t rush this part. your air bubbles are what keep the sponge soft and rollable.
- Bake
- Spread the batter evenly in the pan. Bake for 10 to 12 minutes. The top should bounce back lightly when pressed.
- Roll While Warm
- Turn the cake out onto a clean kitchen towel dusted with cocoa. Peel away the parchment.
- Roll the cake up with the towel inside. Yes, it feels strange but it works. Let it cool completely.
- Make the Filling
- Whip the cold heavy cream until thick but not grainy. In another bowl, mix mascarpone, powdered sugar, and vanilla until smooth. Fold in the whipped cream. The texture should feel like whipped silk.
- Unroll and Assemble
- Gently unroll your cooled cake. Brush generously with the espresso syrup. Spread a thick layer of mascarpone filling on top. Roll it back up without the towel. Don’t worry if a little filling squeezes out. that’s part of the charm.
- Dust and Decorate
- Place the cake seam-side down. Dust with cocoa powder. Add chocolate curls or powdered sugar if you’re feeling festive.
- 10. Chill
- Let the cake chill for at least 30 minutes. This helps it firm up and slice cleanly.