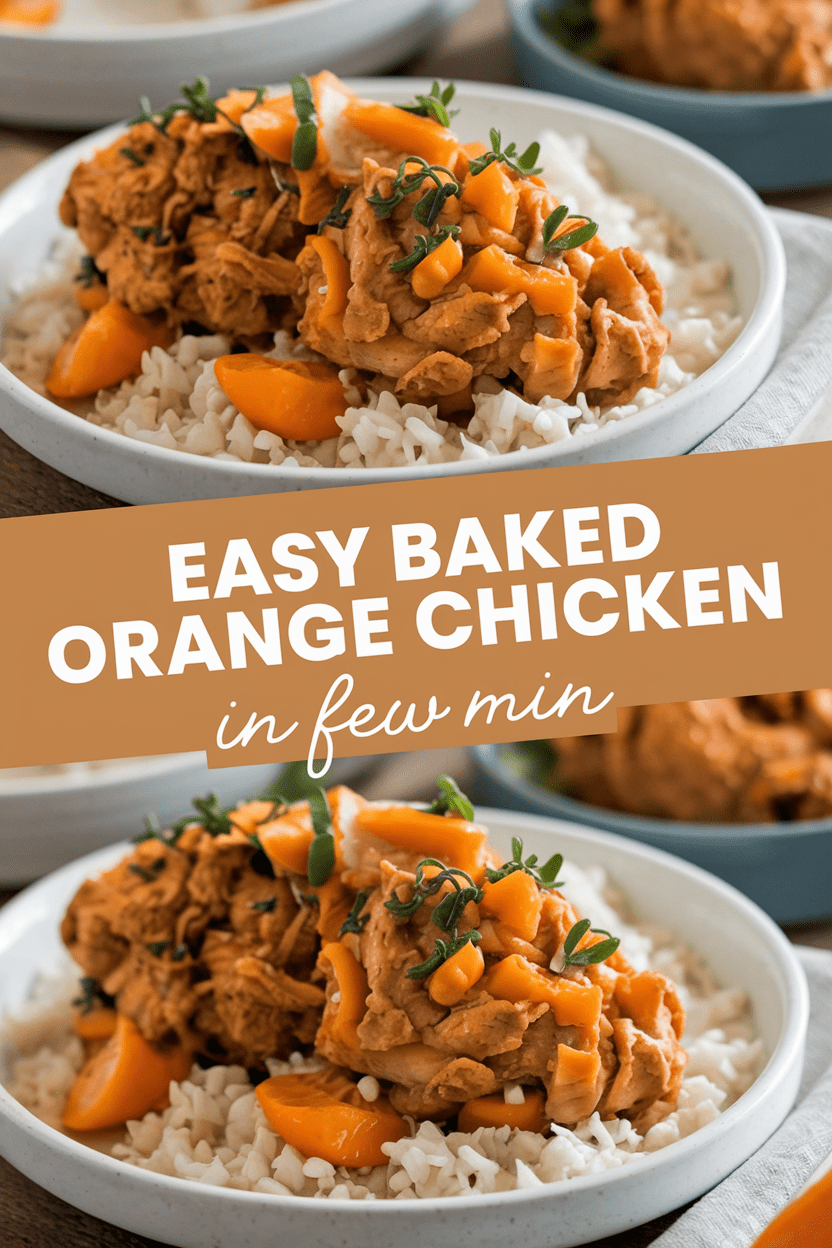
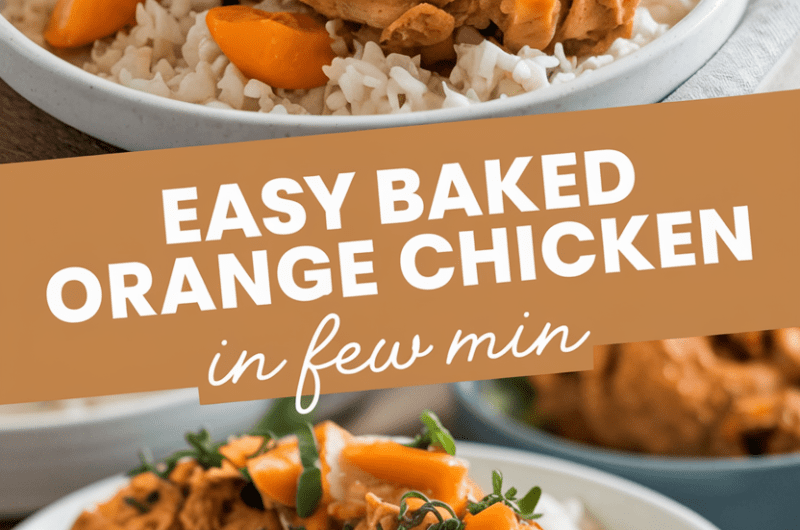
This easy baked orange chicken is a lighter, home cooked take on a much loved takeaway classic. The chicken turns beautifully tender inside with a lightly crisp coating, all finished in a glossy orange sauce that is sweet, tangy, and gently savoury. It is a straightforward recipe suited to confident beginners, with simple steps and everyday ingredients. From start to finish, it takes about 45 minutes, making it ideal for a relaxed weeknight dinner.
Ingredients
For the Chicken
- 600 g boneless, skinless chicken breast, cut into bite sized pieces
- 2 large eggs
- 4 tbsp cornflour
- 2 tbsp plain flour
- 1 tsp garlic powder
- 1 tsp salt
- 0.5 tsp black pepper
- 2 tbsp vegetable oil, for brushing
For the Orange Sauce
- 180 ml fresh orange juice
- 1 tbsp orange zest
- 4 tbsp light brown sugar
- 3 tbsp soy sauce
- 2 tbsp rice vinegar or white wine vinegar
- 1 tbsp cornflour
- 1 tsp grated fresh ginger
- 2 cloves garlic, finely minced
To Finish
- 1 tsp sesame oil
- Sesame seeds, for sprinkling
- Fresh spring onions, finely sliced
How to Make Easy Baked Orange Chicken
Prepare the Oven
Preheat the oven to 200°C, or 180°C fan. Line a large baking tray with baking parchment and lightly brush it with vegetable oil to prevent sticking.
Coat the Chicken
In a shallow bowl, whisk the eggs until smooth. In a separate bowl, mix the cornflour, plain flour, garlic powder, salt, and black pepper. Dip each piece of chicken into the egg, then coat evenly in the flour mixture. Arrange the chicken on the prepared tray in a single layer.
Bake the Chicken
Lightly brush the tops of the chicken pieces with vegetable oil. Bake for 20 minutes, then turn each piece and return to the oven for another 10 to 15 minutes until golden and cooked through.
Make the Orange Sauce
While the chicken bakes, combine the orange juice, orange zest, brown sugar, soy sauce, vinegar, cornflour, ginger, and garlic in a small saucepan. Place over medium heat and stir continuously until the sauce thickens and turns glossy. Remove from the heat and stir in the sesame oil.
Assemble and Finish
Transfer the baked chicken to a large bowl and pour the warm orange sauce over the top. Toss gently until every piece is well coated. Sprinkle with sesame seeds and sliced spring onions before serving.
Tips for the Best Orange Chicken
How do I keep the chicken crispy?
Bake the chicken on a hot oven tray and avoid overcrowding. Turning halfway through helps ensure even browning on all sides.
Can I make the sauce less sweet?
Reduce the sugar by one tablespoon and add a little extra vinegar to balance the flavour without losing the orange freshness.
What if my sauce is too thick?
Stir in a tablespoon of warm water or extra orange juice until the sauce reaches your preferred consistency.
Can I use chicken thighs instead?
Yes, boneless chicken thighs work very well and stay especially juicy. Add a few extra minutes to the baking time.
Serving Suggestions
- Serve over steamed jasmine or basmati rice
- Pair with stir fried vegetables or tenderstem broccoli
- Add to noodles for a hearty bowl style meal
Storage
Room Temperature
This dish should not be left out for more than 2 hours once cooked.
Refrigerator
Store leftovers in an airtight container in the fridge for up to 3 days. Reheat gently in the oven or on the hob until piping hot.
Freezing
Freeze the cooked chicken and sauce together for up to 2 months. Defrost overnight in the fridge and reheat thoroughly before serving.
Nutrition
- Calories: 420 kcal
- Carbohydrates: 38 g
- Protein: 32 g
- Fat: 14 g
- Saturated Fat: 3 g
- Sodium: 780 mg
Nutrition values are estimates and can vary depending on ingredients used.
FAQs
Can I make this recipe ahead of time?
Yes, you can bake the chicken and prepare the sauce separately. Combine and reheat just before serving for the best texture.
Is baked orange chicken healthier than fried?
Baking uses far less oil than frying, which reduces overall fat while still delivering excellent flavour and texture.
Can I make it gluten free?
Yes, replace the plain flour with gluten free flour and ensure your soy sauce is gluten free.
What can I use instead of fresh orange juice?
Good quality bottled orange juice works well, but fresh juice gives the brightest flavour and aroma
Mary Berry 3-Layer Victoria Sponge Recipe
Course: DessertCuisine: BritishDifficulty: Easy4
servings30
minutes40
minutes300
kcal1
hour10
minutesLight, fluffy Mary Berry 3-Layer Victoria Sponge filled with strawberry jam and freshly whipped cream. A classic British cake perfect for any occasion.
Ingredients
225g unsalted butter, softened
225g caster sugar
4 large eggs
225g self-raising flour
1 tsp baking powder
2 tbsp milk
150ml double cream
2 tbsp icing sugar
4–5 tbsp strawberry jam
Fresh strawberries, sliced
Icing sugar, for dusting
Butter, for greasing tins
Baking parchment
Directions
- Preheat oven to 180°C (160°C Fan). Grease and line three 8-inch round cake tins.
- Place butter, caster sugar, eggs, flour, baking powder and milk into a large bowl.
- Beat with an electric mixer for about 2 minutes until pale, smooth and fully combined.
- Divide evenly between tins and level the tops.
- Bake for 20–25 minutes until golden, springy and cooked through.
- Cool in tins for 5 minutes, then turn out onto a wire rack to cool completely.
- Whip double cream with icing sugar until soft peaks form.
- Sandwich the sponges with strawberry jam and whipped cream.
- Dust with icing sugar and decorate with fresh strawberries before serving.
Notes
- Ensure butter is fully softened for best rise.
- Do not open the oven door early to prevent sinking.
- Sponge layers can be frozen unfilled for up to 3 months.