There’s something irresistibly fun about making Chocolate Boo! Cake Pops—tiny, bite-sized treats that bring pure joy with every bite. To me, these are the kind of desserts that never fail to make people smile. They’re spooky-cute, chocolatey, and the perfect blend of festive and indulgent. I’ve made them for Halloween parties, classroom treats, and even random cozy nights when I just wanted something a little playful. And trust me—once you try making them, you’ll understand why I’m so obsessed.
What Are Chocolate Boo! Cake Pops?
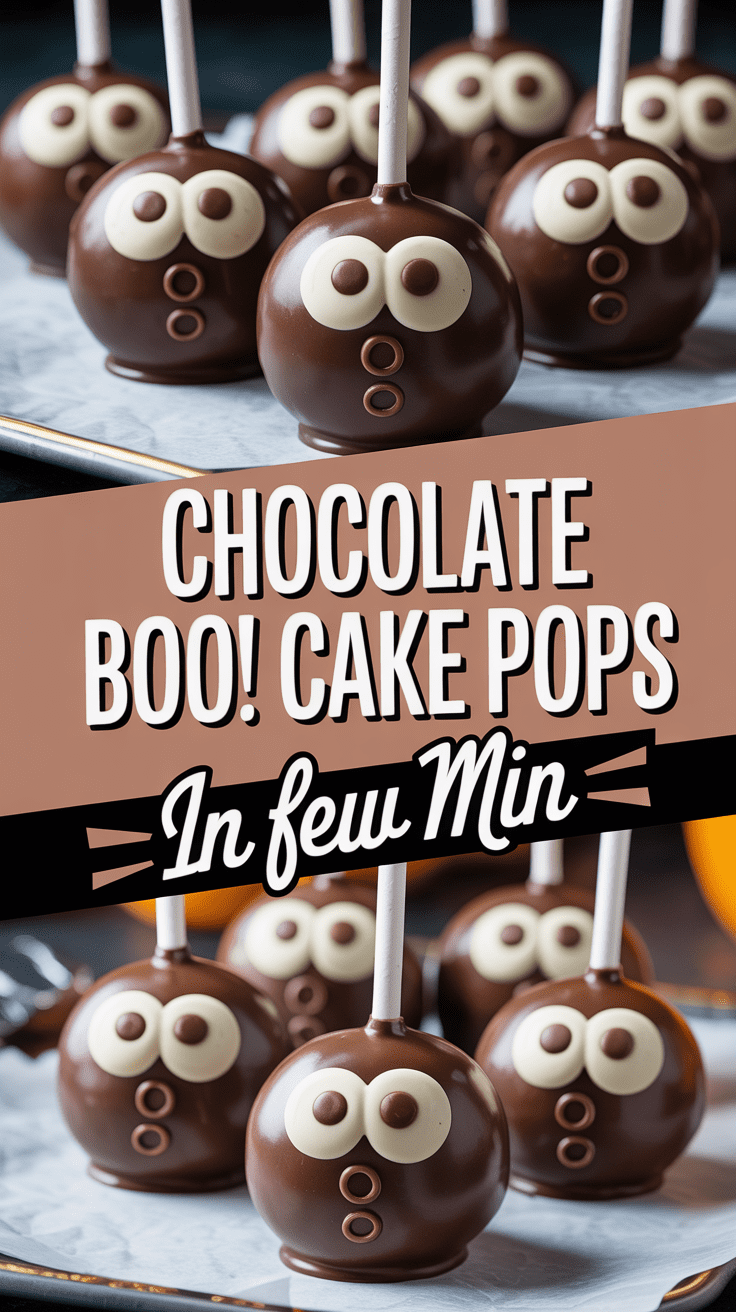
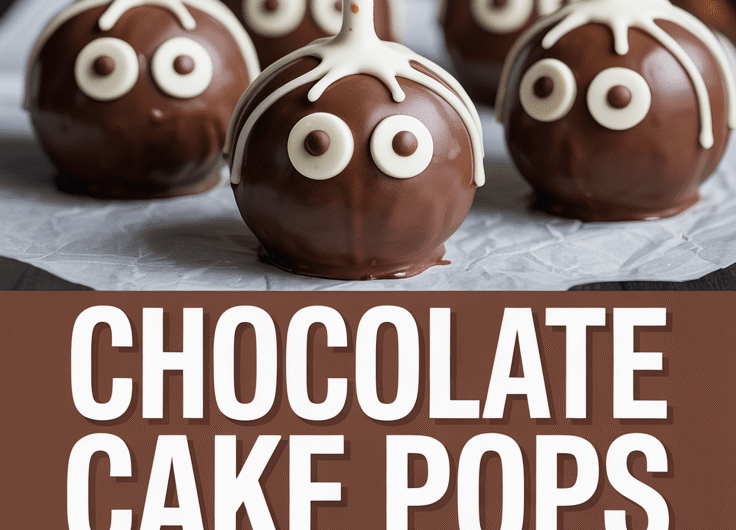
Chocolate Boo! Cake Pops are small, round bites of rich chocolate cake mixed with frosting, shaped into ghostly figures, and dipped in a smooth candy coating. Each pop is decorated with little ghost faces—hence the “Boo!”—making them the ultimate Halloween sweet. They’re part dessert, part decoration, and 100% fun.
Why This Recipe Is Special
This recipe isn’t just about creating something adorable; it’s about capturing that nostalgic, childlike excitement that Halloween brings. You don’t need to be a pastry chef—just a little patience and a sense of humor. I’ve tested this recipe multiple times to make sure it’s beginner-friendly yet delicious enough to impress anyone. Whether you’re baking for kids, friends, or just yourself, these ghostly cake pops are a guaranteed win.
Why You’ll Love This Recipe
- Rich chocolate flavor that melts in your mouth.
- Customizable—decorate them however you like!
- Kid-friendly and fun to make as a family project.
- Perfect for parties, Halloween goodie bags, or edible gifts.
- Make-ahead friendly—they stay fresh for days and freeze beautifully.
Tools You’ll Need
Here’s what you’ll want to gather before you start. Nothing fancy—just the essentials:
- Mixing bowls: One large for the cake crumbs and frosting mixture, and one small for melting chocolate.
- Hand mixer or stand mixer: Speeds up the cake batter mixing process, but you can use a whisk and elbow grease if needed.
- Baking pan (9×13 inch / 23×33 cm): For baking the cake base.
- Lollipop sticks: For turning those cake balls into pops.
- Parchment paper or silicone mat: Keeps the pops from sticking.
- Styrofoam block or cake pop stand: To hold the pops upright while they set.
- Spoon or small cookie scoop: Helps portion evenly sized cake balls.
- Microwave-safe bowl: For melting the candy coating smoothly.
Ingredients
For the Cake
- 1 box (15.25 oz / 432 g) chocolate cake mix
- 1 cup (240 ml) water
- ½ cup (120 ml) vegetable oil
- 3 large eggs
For the Frosting
- ½ cup (115 g) unsalted butter, softened
- 1½ cups (190 g) powdered sugar
- 2 tablespoons (30 ml) milk
- 2 tablespoons (15 g) cocoa powder
- 1 teaspoon vanilla extract
For Decoration
- 2 cups (340 g) white candy melts or white chocolate chips
- 2 tablespoons (30 ml) vegetable shortening or coconut oil (for smooth melting)
- Mini chocolate chips or black icing for ghost faces
Step-by-Step Instructions
1. Bake the Cake
Preheat your oven to 350°F (175°C). Grease your baking pan and prepare the cake mix following the package instructions. Pour the batter into the pan and bake for about 30–35 minutes, or until a toothpick inserted in the center comes out clean. Let the cake cool completely before moving on—trust me, this step matters. Warm cake will make the mixture too mushy later.
2. Crumble the Cake
Once cooled, crumble the cake into fine crumbs using your hands or a fork. I like doing this by hand—it feels oddly satisfying. You’re looking for a soft, sand-like texture with no big chunks.
3. Make the Frosting
In a medium bowl, beat the butter until fluffy. Add powdered sugar, cocoa powder, milk, and vanilla. Mix until smooth and creamy. This frosting will be the glue that binds the cake crumbs together.
4. Combine and Shape
Add a few spoonfuls of frosting to the crumbled cake and mix with your hands or a spatula. Start small—you can always add more frosting if needed. The mixture should feel moist enough to hold its shape but not sticky. Roll into 1-inch (2.5 cm) balls, then gently pinch and shape the tops into a ghostly “head” shape.
5. Insert the Sticks
Melt a few white candy melts and dip the end of each stick into it before inserting it halfway into each cake ball. This helps the stick stay put once coated. Chill the cake pops in the fridge for at least 30 minutes, or in the freezer for 10–15 minutes.
6. Coat with White Chocolate
Melt the remaining candy melts with shortening or coconut oil until smooth. Dip each chilled cake pop into the coating, gently tapping off excess chocolate. Place them upright in a Styrofoam block to set.
7. Add Faces
Once the coating is set but not rock-hard, press on mini chocolate chips for eyes and a mouth, or use black icing for a drawn-on look. I like giving each ghost a different “expression”—it makes them feel more alive (or undead?).
Serving Ideas
- Display them in a black or orange bowl filled with candy corn.
- Wrap each pop in clear cellophane bags with Halloween ribbon for party favors.
- Stick them in a pumpkin as a spooky edible bouquet.
Variations and Customizations
- Flavors: Try red velvet or vanilla cake with white coating for different “ghost” tones.
- Filling twist: Add a dollop of peanut butter or caramel inside the cake balls before shaping.
- Colorful ghosts: Tint your white candy melts with gel food coloring for pastel or neon ghosts.
Storage and Make-Ahead Tips
- Store in an airtight container at room temperature for up to 3 days.
- Refrigerate for up to a week, or freeze (undecorated) for up to 2 months.
- To serve from frozen, thaw overnight in the fridge, then decorate.
Pro Tips & Mistakes to Avoid
Pro Tips:
- Chill your cake balls before dipping—they’ll stay firm and coat evenly.
- Add shortening to your melted chocolate for a smoother, glossier finish.
- Use a fork or toothpick to pop any air bubbles on the surface before they dry.
Mistakes to Avoid:
- Don’t add too much frosting—it’ll make the cake balls soggy.
- Avoid overheating the candy melts; they’ll seize and turn grainy.
- Don’t skip chilling! Warm cake pops can fall off their sticks mid-dip (been there, done that).
Recipe Details
- Yield: 24 cake pops
- Prep Time: 45 minutes
- Cook Time: 35 minutes
- Chill Time: 30 minutes
- Total Time: 1 hour 50 minutes
- Calories per pop: ~180
Final Thoughts
There’s something magical about watching these little ghosts come to life—each one with its own personality and quirks. Every time I make them, I end up laughing at how cute (and sometimes ridiculous) they look. So, grab your sticks, melt that chocolate, and let your inner Halloween baker shine.
Chocolate Boo! Cake Pops
4
servings45
minutes180
kcalChocolate Boo! Cake Pops are small, round bites of rich chocolate cake mixed with frosting, shaped into ghostly figures, and dipped in a smooth candy coating. Each pop is decorated with little ghost faces—hence the “Boo!”—making them the ultimate Halloween sweet. They’re part dessert, part decoration, and 100% fun.
Ingredients
For the Cake
1 box (15.25 oz / 432 g) chocolate cake mix
1 cup (240 ml) water
½ cup (120 ml) vegetable oil
3 large eggs
For the Frosting
½ cup (115 g) unsalted butter, softened
1½ cups (190 g) powdered sugar
2 tablespoons (30 ml) milk
2 tablespoons (15 g) cocoa powder
1 teaspoon vanilla extract
For Decoration
2 cups (340 g) white candy melts or white chocolate chips
2 tablespoons (30 ml) vegetable shortening or coconut oil (for smooth melting)
Mini chocolate chips or black icing for ghost faces
Directions
- Bake the Cake
- Preheat your oven to 350°F (175°C). Grease your baking pan and prepare the cake mix following the package instructions. Pour the batter into the pan and bake for about 30–35 minutes, or until a toothpick inserted in the center comes out clean. Let the cake cool completely before moving on—trust me, this step matters. Warm cake will make the mixture too mushy later.
- Crumble the Cake
- Once cooled, crumble the cake into fine crumbs using your hands or a fork. I like doing this by hand—it feels oddly satisfying. You’re looking for a soft, sand-like texture with no big chunks.
- Make the Frosting
- In a medium bowl, beat the butter until fluffy. Add powdered sugar, cocoa powder, milk, and vanilla. Mix until smooth and creamy. This frosting will be the glue that binds the cake crumbs together.
- Combine and Shape
- Add a few spoonfuls of frosting to the crumbled cake and mix with your hands or a spatula. Start small—you can always add more frosting if needed. The mixture should feel moist enough to hold its shape but not sticky. Roll into 1-inch (2.5 cm) balls, then gently pinch and shape the tops into a ghostly “head” shape.
- Insert the Sticks
- Melt a few white candy melts and dip the end of each stick into it before inserting it halfway into each cake ball. This helps the stick stay put once coated. Chill the cake pops in the fridge for at least 30 minutes, or in the freezer for 10–15 minutes.
- Coat with White Chocolate
- Melt the remaining candy melts with shortening or coconut oil until smooth. Dip each chilled cake pop into the coating, gently tapping off excess chocolate. Place them upright in a Styrofoam block to set.
- Add Faces
- Once the coating is set but not rock-hard, press on mini chocolate chips for eyes and a mouth, or use black icing for a drawn-on look. I like giving each ghost a different “expression”—it makes them feel more alive (or undead?).
Notes
- Pro Tips:
Chill your cake balls before dipping—they’ll stay firm and coat evenly.
Add shortening to your melted chocolate for a smoother, glossier finish.
Use a fork or toothpick to pop any air bubbles on the surface before they dry.
Mistakes to Avoid:
Don’t add too much frosting—it’ll make the cake balls soggy.
Avoid overheating the candy melts; they’ll seize and turn grainy.
Don’t skip chilling! Warm cake pops can fall off their sticks mid-dip (been there, done that).