My Take on This Recipe
The recipe that I turn to in times of cheesy, comforting yet secretly healthy eating is, without a doubt, baked zucchini cheese. Nothing quite sets my taste buds buzzing quite like the merging of melted golden cheese with fresh zucchini. I almost always pull this recipe out of the oven, and literally, it just smells heavenly; trust me, you’ll feel the same.
A Little About the Recipe
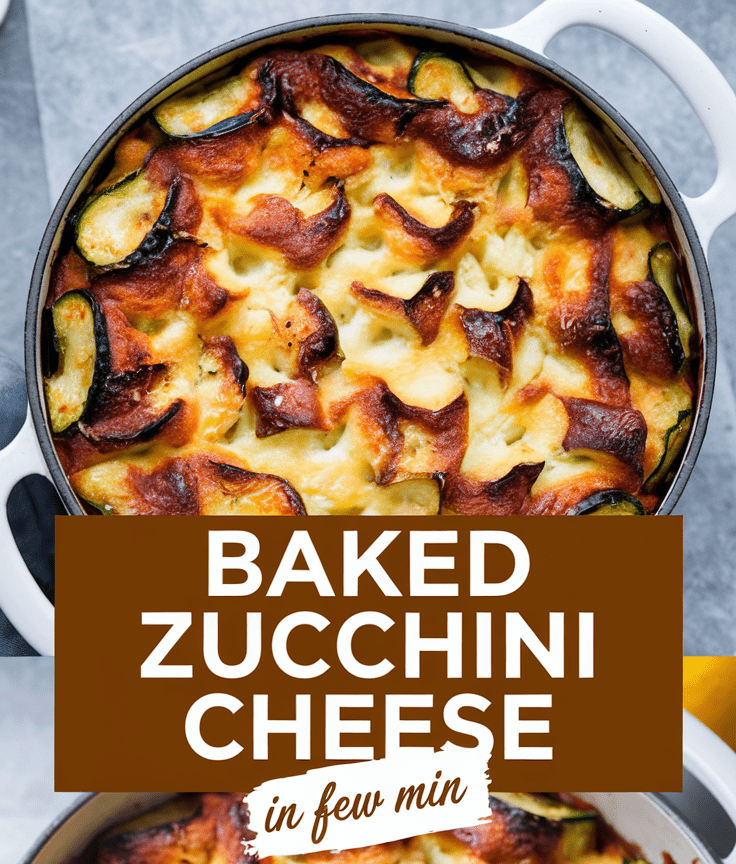
Baked zucchini cheese basically turns zucchini into a flavour-packed, fantastic side dish or snack. Shred zucchini, mix cheese and herbs, barely hold together, bake and voila-prettiest golden, slightly crispy, but very soft and cheesy inside. Think of moist yet guilt-free “cheesy sticks” minus the bread overload.
Why This Recipe Is Special
Most impressive, though, is its versatility. An appetiser that people might find cute, an adventurous veggie side, or even a snack for those kids who usually don’t eat zucchini-that can be all this dish. Oh yeah, it’s another one of those dishes where you really put your own touch into it, sort of with the cheese or herbs, or even put some spice into it. Plus, it’s super simple to prep, so no hours spent making this.
Why You’ll Love This Recipe
Here’s why I think you’re going to enjoy making (and eating) this as much as I do:
- Flavorful: Just cheesy, very herby, and beautiful with a little mouthwatering, fresh zucchini freshness.
- Simple to execute: No elaborate procedures: you shred, toss, bake, and you’re ready.
- Delicious for kids: A very sneaky way of hiding vegetables from them without the fuss.
- Customizable: Different cheeses, add spices, or even use another veg to sneak it in.
- Healthier than it looks: You’re still eating vegetables… just in their tastiest form.
Tools You’ll Need
You don’t need much, but each tool makes the process smoother:
- Box grater or food processor – to really nicely shred the zucchini.
- Mixing bowls-one for wringing the water out of the zucchini and another for mixing the other ingredients.
- A clean kitchen towel or cheesecloth: wring out some of the moisture (this is key to getting the right texture).
- Measuring cups/spoons-keeping the right balance in the amounts of cheese, herbs, and zucchini.
- Baking sheet-lined parchment: nothing sticks, and cleaning up is easy.
Ingredients
(Serves four as a side or snack)
- 2 medium zucchinis (about 500 g / 1 lb), shredded
- 1 cup (100 g) mozzarella cheese, shredded
- 1/2 cup (50 g) Parmesan cheese, grated
- 1 large egg (about 50 g)
- 1/2 cup (60 g) breadcrumbs (or almond flour for low-carb)
- 1 teaspoon (5 g) garlic powder
- 1 teaspoon (5 g) dried Italian herbs (or oregano/basil)
- Salt and black pepper, to taste
Optional for topping: extra mozzarella or a sprinkle of chilli flakes for heat.
Step-by-Step Instructions
- Preheat your oven
- Heat it to 400°F (200°C). You want it nice and hot so the cheese crisps instead of going soggy.
- Shred and drain the zucchini: Grab your grater and shred the zucchini. Now this part is really important: zucchini holds a lot of water. Place the shredded zucchini in a clean towel or cheesecloth, squeeze it over the sink, and get as much liquid out as you can. Don’t skip this-it is the difference between cheesy bites and mushy disappointment.
- Mix them together: In a bowl, mix all the ingredients with the drained zucchini, the mozzarella, parmesan, egg, breadcrumbs, and garlic pow.
- Shape and spread
- Line your baking sheet with parchment. Spread the mixture into a rectangle about 1/2 inch (1 cm) thick. Pat it down firmly—you’re basically shaping it into cheesy breadsticks.
- Bake until golden
- Pop it into the oven for about 20–25 minutes, or until the edges turn golden brown and the centre feels firm.
- Add extra cheese (optional but highly recommended)
- Sprinkle a bit more mozzarella on top and bake another 5 minutes until bubbly and melty.
- Slice and serve
- Let it cool slightly (hard, I know), then cut into sticks or squares.
Serving Ideas
- Serve with marinara sauce on the side for dipping, just like cheesy breadsticks.
- Pair with a nice green salad for a healthy piece of supper.
- It is a fine side with grilled chicken or fish for a hint of sweetness.
- Table a dollop of sour cream or Greek yoghurt for a creamy burst of flavour.
Variations & Customizations
- Cheese Switcharoo: Go anywhere your goat cheese, mozzarella, or bits from the quarters to fess, with anything else you like?
- Add-to’s: Chipped spinach, finely shredded carrots, perhaps some pepperoni filled with jalapeños.
- Low-carb: Try almond flour or smashed pork rinds for folding the breadcrumbs.
- Pretty up with fire: Give them an inch to scarify, and little flakes of red chilli.
Storage & Make-Ahead
- Refrigerated: Just like all cheese goods, you can store it in the refrigerator in a covered container for up to three days afterwards. If you warm more, it should help you keep softness.
- Freezer: Bake it, single it up, and freeze it. Use any type of standing freezer bag for up to 2 months, and then just leisurely cook it up.
- What can I do ahead of time? Rad! The zucchini mixture can be made ahead for up to 24 hours before baking.
Pro Tips & Mistakes to Avoid
These are the little secrets I wish someone had told me the first time:
- Do not ignore the need to drain the grated zucchini – dampness is why gratin veggies are soggy.
- Use unbleached parchment paper – it saves happiness in scrubbing off horribly baked cheese.
- Season, don’t forget to load it up because seasoning is zucchini’s best ally.
- Cool before slicing – it holds together better if you let it rest for 5 minutes.
- Thin is better – spreading too thick makes it harder to crisp up.
Recipe Details
- Yield: 12 sticks (serves 4)
- Prep Time: 15 minutes
- Cook Time: 25–30 minutes
- Total Time: 40–45 minutes
Nutrition (per serving, approx.)
- Calories: 160
- Protein: 10 g
- Fat: 9 g
- Carbs: 8 g
- Fibre: 2 g
Final Note
I can’t wait for you to try this baked zucchini cheese. It’s one of those recipes that feels indulgent without actually being heavy, and it always gets compliments when I make it. Give it a try, play around with your favourite cheeses or seasonings, and make it your own. If you do make it, I’d love to hear how it turned out—drop a comment, share it with friends, or just treat yourself to an extra piece (you’ve earned it).

Baked Zucchini Cheese
15
minutes25
minutes160
kcalBaked zucchini cheese basically turns zucchini into a flavour-packed, fantastic side dish or snack. Shred zucchini, mix cheese and herbs, barely hold together, bake and voila-prettiest golden, slightly crispy, but very soft and cheesy inside. Think of moist yet guilt-free "cheesy sticks" minus the bread overload.
Ingredients
2 medium zucchinis (about 500 g / 1 lb), shredded
1 cup (100 g) mozzarella cheese, shredded
1/2 cup (50 g) Parmesan cheese, grated
1 large egg (about 50 g)
1/2 cup (60 g) breadcrumbs (or almond flour for low-carb)
1 teaspoon (5 g) garlic powder
1 teaspoon (5 g) dried Italian herbs (or oregano/basil)
Salt and black pepper, to taste
Directions
- Preheat your oven
- Heat it to 400°F (200°C). You want it nice and hot so the cheese crisps instead of going soggy.
- Shred and drain the zucchini: Grab your grater and shred the zucchini. Now this part is really important: zucchini holds a lot of water. Place the shredded zucchini in a clean towel or cheesecloth, squeeze it over the sink, and get as much liquid out as you can. Don't skip this-it is the difference between cheesy bites and mushy disappointment.
- Mix them together: In a bowl, mix all the ingredients with the drained zucchini, the mozzarella, parmesan, egg, breadcrumbs, and garlic pow.
- Shape and spread
- Line your baking sheet with parchment. Spread the mixture into a rectangle about 1/2 inch (1 cm) thick. Pat it down firmly—you’re basically shaping it into cheesy breadsticks.
- Bake until golden
- Pop it into the oven for about 20–25 minutes, or until the edges turn golden brown and the centre feels firm.
- Add extra cheese (optional but highly recommended)
- Sprinkle a bit more mozzarella on top and bake another 5 minutes until bubbly and melty.
- Slice and serve
- Let it cool slightly (hard, I know), then cut into sticks or squares.