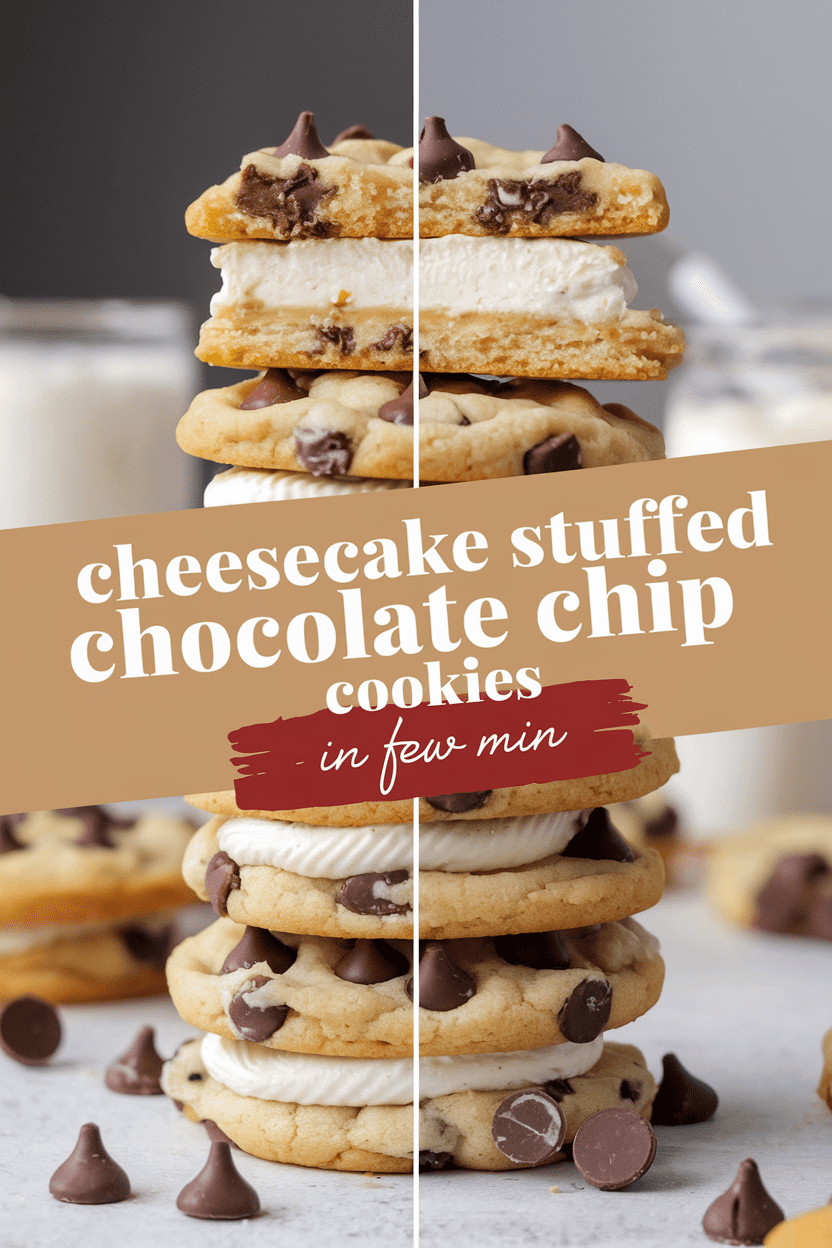
Cheesecake Stuffed Chocolate Chip Cookies
These cheesecake stuffed chocolate chip cookies combine soft, buttery cookie dough with a rich, creamy cheesecake centre that stays luscious after baking. Each bite delivers crisp edges, a gooey middle, and pockets of melted chocolate balanced by gentle tang from the filling. The recipe is straightforward and well suited to confident beginners who want something impressive without fuss. From start to finish, allow around 90 minutes including chilling and cooling.
Ingredients
For the Cheesecake Filling
- 150 g full fat cream cheese, softened
- 40 g icing sugar
- 1 tsp vanilla extract
For the Cookie Dough
- 225 g unsalted butter, softened
- 200 g light brown sugar
- 100 g caster sugar
- 1 large egg
- 1 large egg yolk
- 2 tsp vanilla extract
- 325 g plain flour
- 1 tsp baking soda
- 0.5 tsp fine salt
- 250 g chocolate chips or chunks
How to Make Cheesecake Stuffed Chocolate Chip Cookies
Prepare the Oven and Trays
Preheat the oven to 180°C or 160°C fan. Line two baking trays with baking parchment and set aside.
Make the Cheesecake Filling
In a small bowl, mix the cream cheese, icing sugar, and vanilla until smooth and thick. Spoon teaspoon sized portions onto a lined plate and freeze for 20 to 30 minutes until firm.
Mix the Cookie Dough
In a large bowl, cream the butter with both sugars until pale and fluffy. Beat in the egg, egg yolk, and vanilla until fully combined. Add the flour, baking soda, and salt, then mix gently until a soft dough forms. Fold in the chocolate chips evenly.
Assemble the Cookies
Take two tablespoons of dough and flatten it slightly in your hand. Place a frozen cheesecake portion in the centre and wrap the dough around it, sealing well. Roll gently into a ball and place on the prepared tray, leaving space for spreading.
Bake
Bake for 12 to 14 minutes until the edges are golden but the centres still look soft. Avoid overbaking as the cookies will continue to set while cooling.
Cool
Leave the cookies on the tray for 10 minutes, then transfer to a wire rack to cool completely. The cheesecake centre will firm up as they cool.
Tips for Best Results
How do I stop the filling from leaking?
Make sure the cheesecake filling is fully frozen and completely sealed inside the dough before baking.
Why did my cookies spread too much?
Soft butter or warm dough can cause excess spreading. Chill the assembled cookies for 15 minutes before baking if your kitchen is warm.
Can I make them extra thick?
Yes. Shape the dough taller rather than wider and avoid pressing down before baking.
How do I keep the centres creamy?
Do not overbake. The cookies should look slightly underdone in the middle when removed from the oven.
Serving Suggestions
- Serve slightly warm with a glass of cold milk
- Pair with coffee or tea for an afternoon treat
- Add a light dusting of icing sugar before serving
Storage
Room Temperature
Store in an airtight container for up to 2 days in a cool place.
Refrigerator
Keep refrigerated for up to 5 days. Bring to room temperature before serving for the best texture.
Freezing
Freeze baked cookies for up to 2 months. Thaw overnight in the refrigerator and warm briefly before serving.
Nutrition
- Calories: 410 kcal
- Carbohydrates: 46 g
- Protein: 5 g
- Fat: 23 g
- Saturated Fat: 14 g
- Sodium: 210 mg
Nutrition values are estimates and may vary depending on ingredients used.
FAQs
Can I use low fat cream cheese?
Full fat cream cheese is best for texture and flavour. Low fat versions can become watery when baked.
Can I freeze the dough before baking?
Yes. Assemble the cookies and freeze them unbaked for up to 2 months. Bake from frozen, adding 2 to 3 minutes to the baking time.
What chocolate works best?
Dark or milk chocolate both work well. Chunks give a more generous melt than chips.
Why are my cookies dry?
This usually means too much flour or overbaking. Spoon and level your flour and remove cookies while centres are still soft.

Mary Berry 3-Layer Victoria Sponge Recipe
Course: DessertCuisine: BritishDifficulty: Easy4
servings30
minutes40
minutes300
kcal1
hour10
minutesLight, fluffy Mary Berry 3-Layer Victoria Sponge filled with strawberry jam and freshly whipped cream. A classic British cake perfect for any occasion.
Ingredients
225g unsalted butter, softened
225g caster sugar
4 large eggs
225g self-raising flour
1 tsp baking powder
2 tbsp milk
150ml double cream
2 tbsp icing sugar
4–5 tbsp strawberry jam
Fresh strawberries, sliced
Icing sugar, for dusting
Butter, for greasing tins
Baking parchment
Directions
- Preheat oven to 180°C (160°C Fan). Grease and line three 8-inch round cake tins.
- Place butter, caster sugar, eggs, flour, baking powder and milk into a large bowl.
- Beat with an electric mixer for about 2 minutes until pale, smooth and fully combined.
- Divide evenly between tins and level the tops.
- Bake for 20–25 minutes until golden, springy and cooked through.
- Cool in tins for 5 minutes, then turn out onto a wire rack to cool completely.
- Whip double cream with icing sugar until soft peaks form.
- Sandwich the sponges with strawberry jam and whipped cream.
- Dust with icing sugar and decorate with fresh strawberries before serving.
Notes
- Ensure butter is fully softened for best rise.
- Do not open the oven door early to prevent sinking.
- Sponge layers can be frozen unfilled for up to 3 months.