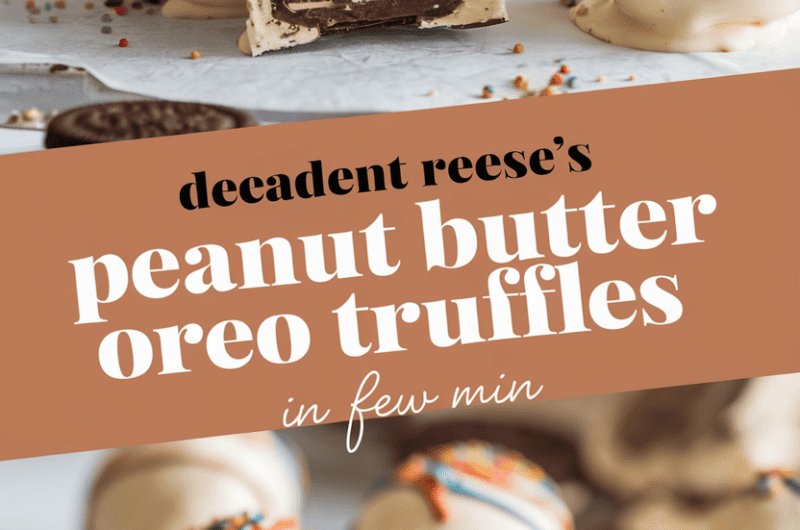
These decadent Reese’s peanut butter Oreo truffles are rich, creamy, and deeply chocolatey, with a soft centre and a crisp chocolate shell. They taste indulgent and luxurious, yet they are surprisingly simple to make with no baking required. This is an easy, beginner-friendly recipe that comes together quickly and feels perfect for parties, gifting, or a quiet treat with coffee. Total time is around 45 minutes plus chilling.
Ingredients
For the truffle base
- 300 g Oreo cookies
- 200 g full-fat cream cheese, softened
- 120 g smooth peanut butter
- 80 g icing sugar
- 1 tsp vanilla extract
For the chocolate coating
- 300 g milk chocolate, chopped
- 50 g dark chocolate, chopped
For decoration (optional)
- Melted white chocolate
- Crushed Oreo crumbs
- Chopped Reese’s pieces
How to Make Decadent Reese’s Peanut Butter Oreo Truffles
Prepare the mixture
Place the Oreo cookies into a food processor and blitz until they form fine crumbs. Add the cream cheese, peanut butter, icing sugar, and vanilla extract. Pulse until the mixture is smooth, thick, and fully combined.
Shape the truffles
Scoop out small portions of the mixture and roll into bite-sized balls using your hands. Place them on a baking tray lined with parchment paper. Chill in the refrigerator for 20 to 30 minutes until firm.
Melt the chocolate
Gently melt the milk and dark chocolate together in a heatproof bowl set over a pan of simmering water, or melt in short bursts in the microwave, stirring frequently until smooth.
Coat the truffles
Dip each chilled truffle into the melted chocolate, ensuring it is fully coated. Lift out with a fork and allow excess chocolate to drip away. Place back onto the lined tray.
Decorate and set
While the chocolate is still wet, decorate with white chocolate drizzle, Oreo crumbs, or chopped Reese’s if using. Leave to set at room temperature or chill briefly until the coating is firm.
Tips for Perfect Oreo Truffles
Why is my mixture too soft to roll?
If the mixture feels sticky, chill it for 10 to 15 minutes. Cold dough is much easier to shape neatly.
How do I get a smooth chocolate coating?
Make sure the truffles are well chilled before dipping. This helps the chocolate set quickly and evenly.
Can I use crunchy peanut butter?
Yes, but the texture will be slightly less smooth. Smooth peanut butter gives the creamiest centre.
How do I stop the chocolate cracking?
Avoid very cold truffles when dipping. Let them sit at room temperature for a few minutes before coating.
Serving Suggestions
- Serve with coffee or hot chocolate
- Add to a dessert platter or sweet table
- Pack into gift boxes for holidays
- Enjoy straight from the fridge for a firmer bite
Storage
Room temperature
Keep in a cool place for up to 2 days, away from direct heat.
Refrigerator
Store in an airtight container for up to 7 days. The texture stays firm and rich.
Freezing
Freeze in a sealed container for up to 2 months. Defrost overnight in the fridge before serving.
Nutrition Information
- Calories: 210 kcal
- Carbohydrates: 18 g
- Protein: 4 g
- Fat: 14 g
- Saturated fat: 7 g
- Sodium: 120 mg
Nutritional values are estimates and may vary depending on ingredients used.
FAQs
Can I make these truffles without peanut butter?
Yes, you can replace peanut butter with more cream cheese or use a chocolate spread instead.
Are Oreo truffles gluten free?
Standard Oreos contain gluten. Use gluten-free sandwich cookies if needed.
Can I use white chocolate for coating?
Yes, white chocolate works well and gives a sweeter finish.
How far ahead can I make these?
They can be made up to 3 days in advance and stored in the fridge until needed.
Mary Berry 3-Layer Victoria Sponge Recipe
Course: DessertCuisine: BritishDifficulty: Easy4
servings30
minutes40
minutes300
kcal1
hour10
minutesLight, fluffy Mary Berry 3-Layer Victoria Sponge filled with strawberry jam and freshly whipped cream. A classic British cake perfect for any occasion.
Ingredients
225g unsalted butter, softened
225g caster sugar
4 large eggs
225g self-raising flour
1 tsp baking powder
2 tbsp milk
150ml double cream
2 tbsp icing sugar
4–5 tbsp strawberry jam
Fresh strawberries, sliced
Icing sugar, for dusting
Butter, for greasing tins
Baking parchment
Directions
- Preheat oven to 180°C (160°C Fan). Grease and line three 8-inch round cake tins.
- Place butter, caster sugar, eggs, flour, baking powder and milk into a large bowl.
- Beat with an electric mixer for about 2 minutes until pale, smooth and fully combined.
- Divide evenly between tins and level the tops.
- Bake for 20–25 minutes until golden, springy and cooked through.
- Cool in tins for 5 minutes, then turn out onto a wire rack to cool completely.
- Whip double cream with icing sugar until soft peaks form.
- Sandwich the sponges with strawberry jam and whipped cream.
- Dust with icing sugar and decorate with fresh strawberries before serving.
Notes
- Ensure butter is fully softened for best rise.
- Do not open the oven door early to prevent sinking.
- Sponge layers can be frozen unfilled for up to 3 months.