Halloween is the perfect time to unleash your creativity, and what better way to do that than by carving pumpkins that impress everyone who walks by? Whether you’re a beginner with a carving knife or a seasoned pumpkin artist, we’ve got 15 easy pumpkin carving ideas that range from simple to expert-level masterpieces.
These designs will help you create pumpkins that light up your porch, wow your guests, and become the talk of the neighborhood this Halloween.
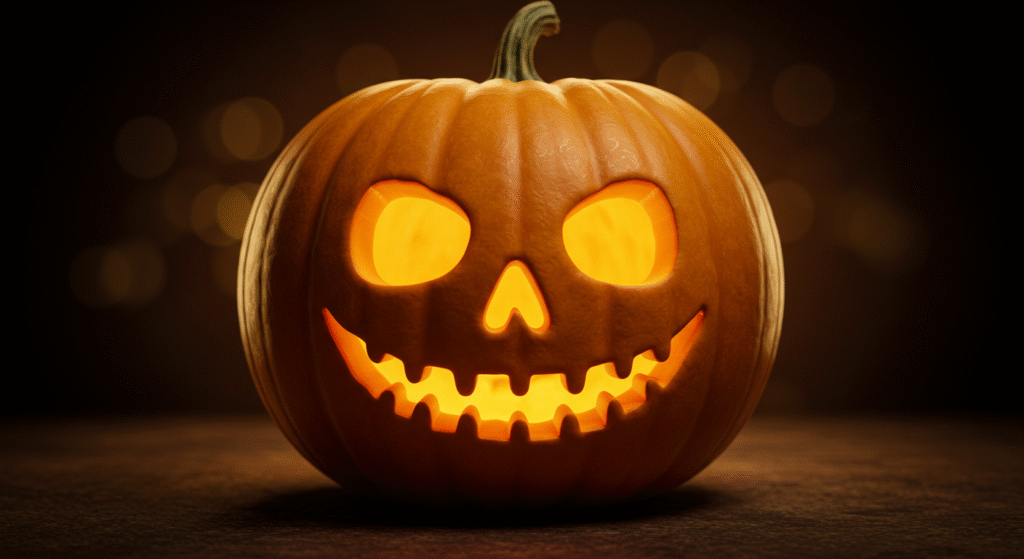
1. Classic Jack-O’-Lantern Face
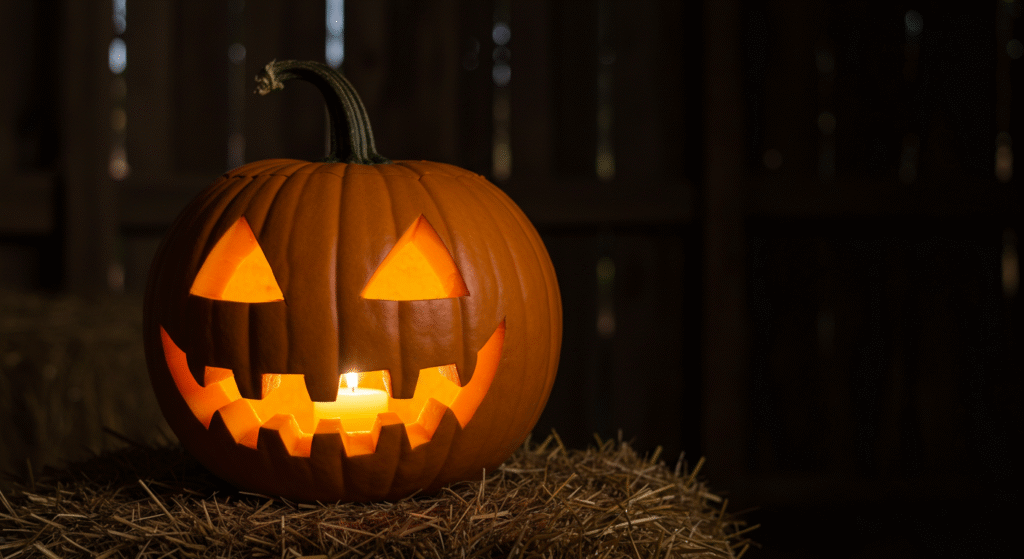
Nothing beats the traditional Jack-O’-Lantern look. It’s the timeless pumpkin face with triangular eyes, a toothy grin, and plenty of spooky charm.
How to make it:
- Cut a lid at an angle to keep it from falling in.
- Scoop out the seeds and pulp.
- Use a stencil or freehand the face with a marker.
- Carve with a serrated knife for smooth lines.
This design is perfect for beginners and can be done in under 30 minutes.
2. Ghostly Glow Pumpkin
For a haunting yet elegant design, try carving a ghost silhouette on your pumpkin.
Steps:
- Trace a ghost outline with chalk.
- Carve only the inside shape, leaving the pumpkin intact around the ghost.
- Place a white LED light inside to make it glow eerily through the cut-out.
This design gives off spooky vibes without being too complicated.
3. Starry Night Pumpkin
Turn your pumpkin into a night sky full of stars.
What you need:
- A drill or metal skewer.
- Pencil to mark random dots.
Instructions:
Drill holes all around your pumpkin in a scattered pattern. When lit, your pumpkin will sparkle like a mini galaxy, perfect for a magical Halloween look.
4. Cat Silhouette Pumpkin
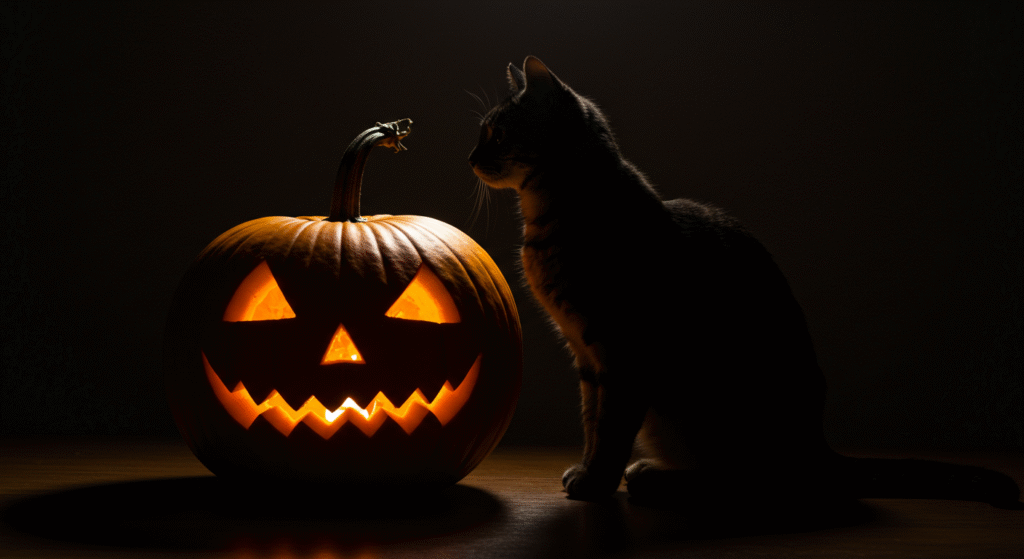
If you love black cats, this one’s for you.
How to do it:
- Draw a sitting cat with an arched back or curled tail.
- Carve out the shape cleanly.
- Add yellow LED lights inside for an eerie glow.
It’s classy, Halloween-themed, and perfect for cat lovers.
5. Haunted House Pumpkin
Create your own mini haunted house scene.
You’ll need:
- A fine carving tool or X-Acto knife.
- A printed stencil for precision.
Cut out a tiny haunted house, windows, and bats. The flickering light from inside gives it a chilling effect that captures Halloween perfectly.
6. Spooky Tree Design
A spooky tree adds mystery to your pumpkin.
Steps:
- Sketch a tree with twisted branches reaching upward.
- Carve it carefully using a precision knife.
- Leave thin lines to let the light peek through the branches.
It’s a great choice for those wanting something dramatic but not overly difficult.
7. Smiling Skeleton Pumpkin
Skeleton faces are both creepy and fun.
How to make it:
- Draw large round eyes, a triangle nose, and a wide, toothy grin.
- Carve the teeth with detail to make it pop.
This one’s a hit with kids and adults alike — classic and bold.
8. Bat Swarm Pumpkin
Want a pumpkin that feels alive? Try carving bats in flight.
Steps:
- Use a stencil or freehand several small bat outlines around your pumpkin.
- Vary their sizes to create movement.
- Add a black light or purple LED inside for extra drama.
The result is a dynamic, spooky masterpiece.
9. Mummy Pumpkin
This one doesn’t require advanced carving skills — just creativity.
How to make it:
- Wrap your pumpkin in strips of white gauze or fabric, leaving space for two eye holes.
- Add glow-in-the-dark eyes or LED lights.
It’s the perfect no-carve pumpkin idea that still steals attention.
10. Spider Web Pumpkin
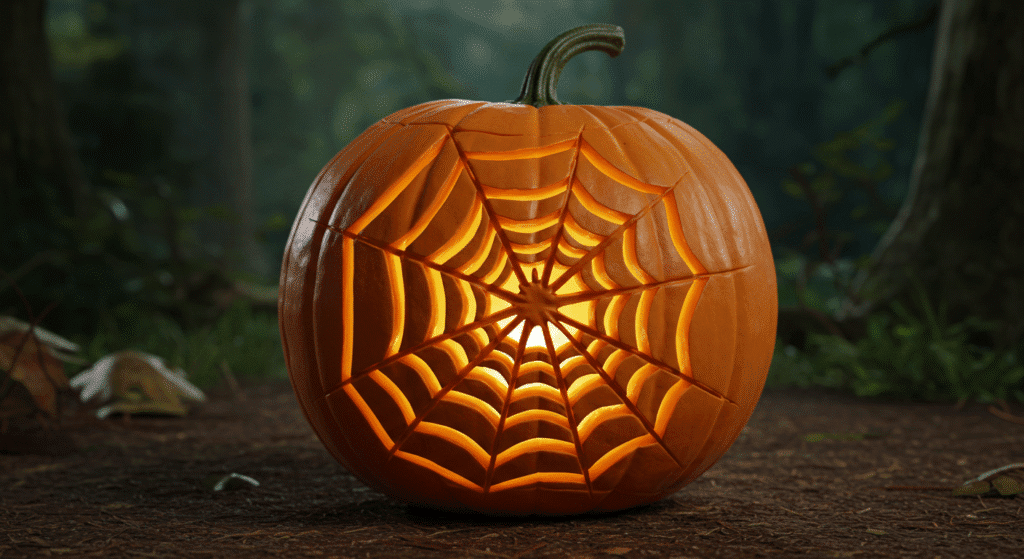
Spider webs are easy and look intricate when done right.
Instructions:
- Draw a web starting from the center, creating lines outward.
- Connect them with curved lines.
- Add a plastic or carved spider for the finishing touch.
When lit, this pumpkin gives off an elegant yet creepy glow.
11. Witch Hat Pumpkin
Combine two Halloween icons — pumpkins and witches.
Steps:
- Carve a simple smiling face.
- Paint or place a mini witch hat on top.
- Add fake hair or a broom beside it for flair.
It’s a fun design that’s perfect for decorating your front steps.
12. Moon and Owl Pumpkin
This idea mixes nature and magic beautifully.
How to create it:
- Draw a crescent moon and carve it out.
- Inside the moon, carve an owl silhouette perched on a branch.
- Use a flickering candle for a natural glow effect.
It’s perfect for intermediate carvers looking to impress.
13. Toothless Monster Pumpkin
A funny twist on the usual scary face.
Steps:
- Carve large uneven eyes and a goofy open mouth.
- Leave the teeth uncarved or add candy corn for a fun detail.
This design is especially fun for kids and family carving nights.
14. Pumpkin-on-Pumpkin Stack
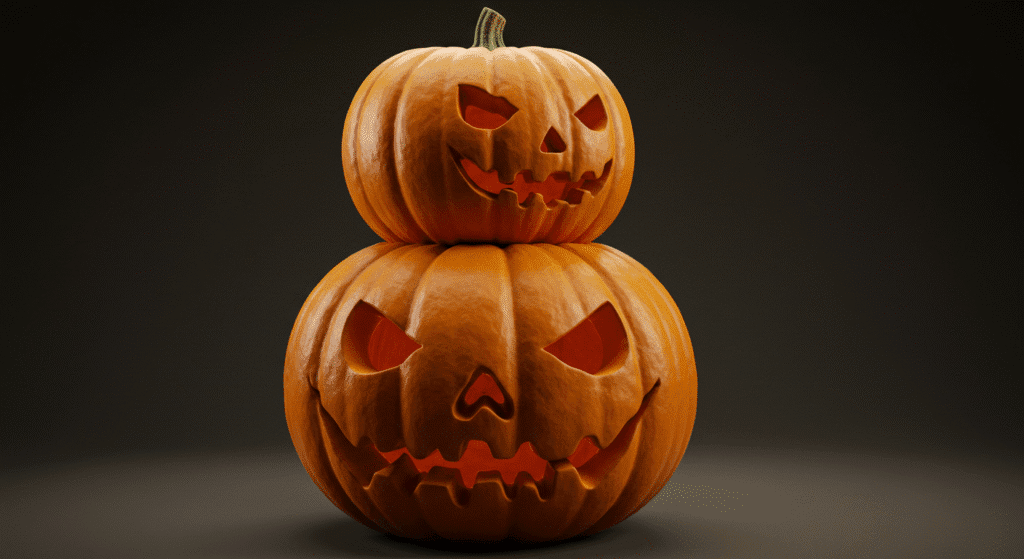
Take things up a notch with a stacked pumpkin display.
How to make it:
- Carve three pumpkins, each with different faces — happy, scary, surprised.
- Stack them using wooden dowels or skewers for stability.
- Add LED lights inside each for layered illumination.
It’s visually striking and makes an excellent centerpiece.
15. Intricate Lace Pumpkin (Expert Level)
For seasoned carvers who want a challenge, the lace design offers elegance.
Instructions:
- Draw a lace or mandala pattern using a marker.
- Use a fine carving tool to cut out small, delicate holes.
- Light it from inside to highlight every detail.
This design looks stunning both indoors and outdoors, offering a mix of sophistication and spooky charm.
Tips for Perfect Pumpkin Carving
- Always choose a firm pumpkin with a flat base.
- Scoop out the inside completely for longer-lasting results.
- Use LED lights instead of candles for safety and a brighter glow.
- Preserve your pumpkin by rubbing the edges with petroleum jelly.
- Sketch your design before carving to avoid mistakes.
These tips ensure your pumpkins last longer and look their best throughout Halloween.
Final Thoughts
Pumpkin carving is more than just a Halloween tradition — it’s an art form that lets your creativity shine. Whether you’re carving your first simple Jack-O’-Lantern or attempting a detailed lace pattern, every pumpkin tells a story.